Oct 19,
I've started sanding the interior of the boat. This is going to be a long process. There are a lot of unfinished surfaces that need cleaning up as well as sharp corners that need rounding off.
Oct 19,
I've started sanding the interior of the boat. This is going to be a long process. There are a lot of unfinished surfaces that need cleaning up as well as sharp corners that need rounding off.
I've been out of town for a few weeks and before that, I've just not had the time to work on the boat. I plan to make that time up. I have done a few things though. I have made a few covers to hide some of the exposed plumbing. I will post some additional photos later.
 |
| A photo showing the exposed plumbing. |
 |
| The cover roughed out. It needs a bit of sanding and fitting. |
 |
| Sometimes we have "show the boat off day." |
 |
| Laura says Hi! And please fix me another bloody Mary. |
July 9,
Not too much going on with the boat the last few months. There have been holidays, yard work and very little money. I have done a lot of cleaning of the shop which is always nice. I've started cleaning and inspecting the Isuzu C240 auxiliary diesel. My current plan is to start rebuilding that engine starting with the head. I had some notion of doing a lot of the head work myself, but I think I'm going with a professional shop for surfacing, seats and valve guides. I'll probably get a shop to put new liners in the block as well. I don't expect anymore block work except some surfacing of the top. It should all be bearings and gaskets.
I've given some thought to the rigging as well. There is a case for going with drawn galvanized 7x19 wire rope.
Advantages:
 |
| The photo in the rigging book (reference to come) showing the thimble in the middle with the three jaws holding the wire rope around the thimble. |
 |
| My current progress. I've already threaded the steel block for a 3/8" bolt. The jaws are made from some left over white oak. That is a 3/8" thimble in the jaws for size comparison. It's designed to handle the range of wire rope that I'll be using on the Wren's Reward. |
Still working on details and storage in the front half of the boat. I am working on full length book shelves in the vee berth. Due to the angle of the bow, it was able to accommodate some pretty deep shelves (9.5" or 24 cm) without compromising comfort in the berth. I'm keeping the same design as all the shelving; plywood bottom with the black walnut face.
 |
| Fitting the plywood base for the shelves on the port side. |
 |
| Fitting the shelf on the starboard side. |
 |
| Near completed shelf in the vee berth on the port side. Starboard side is identical. The shelves are pretty strong as is but I'm going to add a small spindle support that will attach to the beam attached to the frame. |
 |
| My spindle design for above. I'll use the black walnut. |
Although I have used my lathe a bit here and there mostly for making tools and simple things, I have never attempted to make a decorative spindle. Looks easy. My first attempt was a serious failure. Mostly because I've neglected my tools. A few hours of sharpening and I tried again. I still managed to screw it up. The third and fourth attempts were much better and a bit of sanding got to a nice finish.
 |
| About a day's worth of work in the end to make and install these spindles. Yeah, I know. Some square stock would have worked just as well. This is the port side of the Vee berth. |
 |
| And the starboard side. |
I will get some more practice in. I want to make spindles for the gunwale rails. Those will be much larger and easier to make.
April 5,
Storage is such an important part of living on a boat. Not only having enough (like that's possible) but having it convenient and easily accessible. Not all storage can be accessible though or you risk wasting a lot of space. Boats have a lot of odd spaces that are difficult utilize. Another important consideration is that any horizontal surface will not remain horizontal on a sailboat. Heeling of 45 degrees or more may be common under some sailing conditions and an accidental knock down or inversion should not be catastrophic. Items flying around the cabin will make a mess and may even cause serious injury. It should be possible to secure all items i.e. batten down the hatches, when sailing in rough weather. I'm currently planning to add cargo style netting to all shelving.
I am getting into some detail on the interior. I will be adding shelving to the lockers. I have decided to allow 22 inches or 56 cm depth for the lockers. The rest will be shelving.
 |
| First prototype shelf. 3/8" or 9.5mm plywood with 2" or 5 cm walnut face. The face will keep things sliding off the shelf. I will likely add netting for rough seas. |
 |
| Another view showing where the additional shelving will go. There is 10" or 25 cm between shelving until you get to to the small one at the bottom. There it will be 6" or 15.25 cm. |
 |
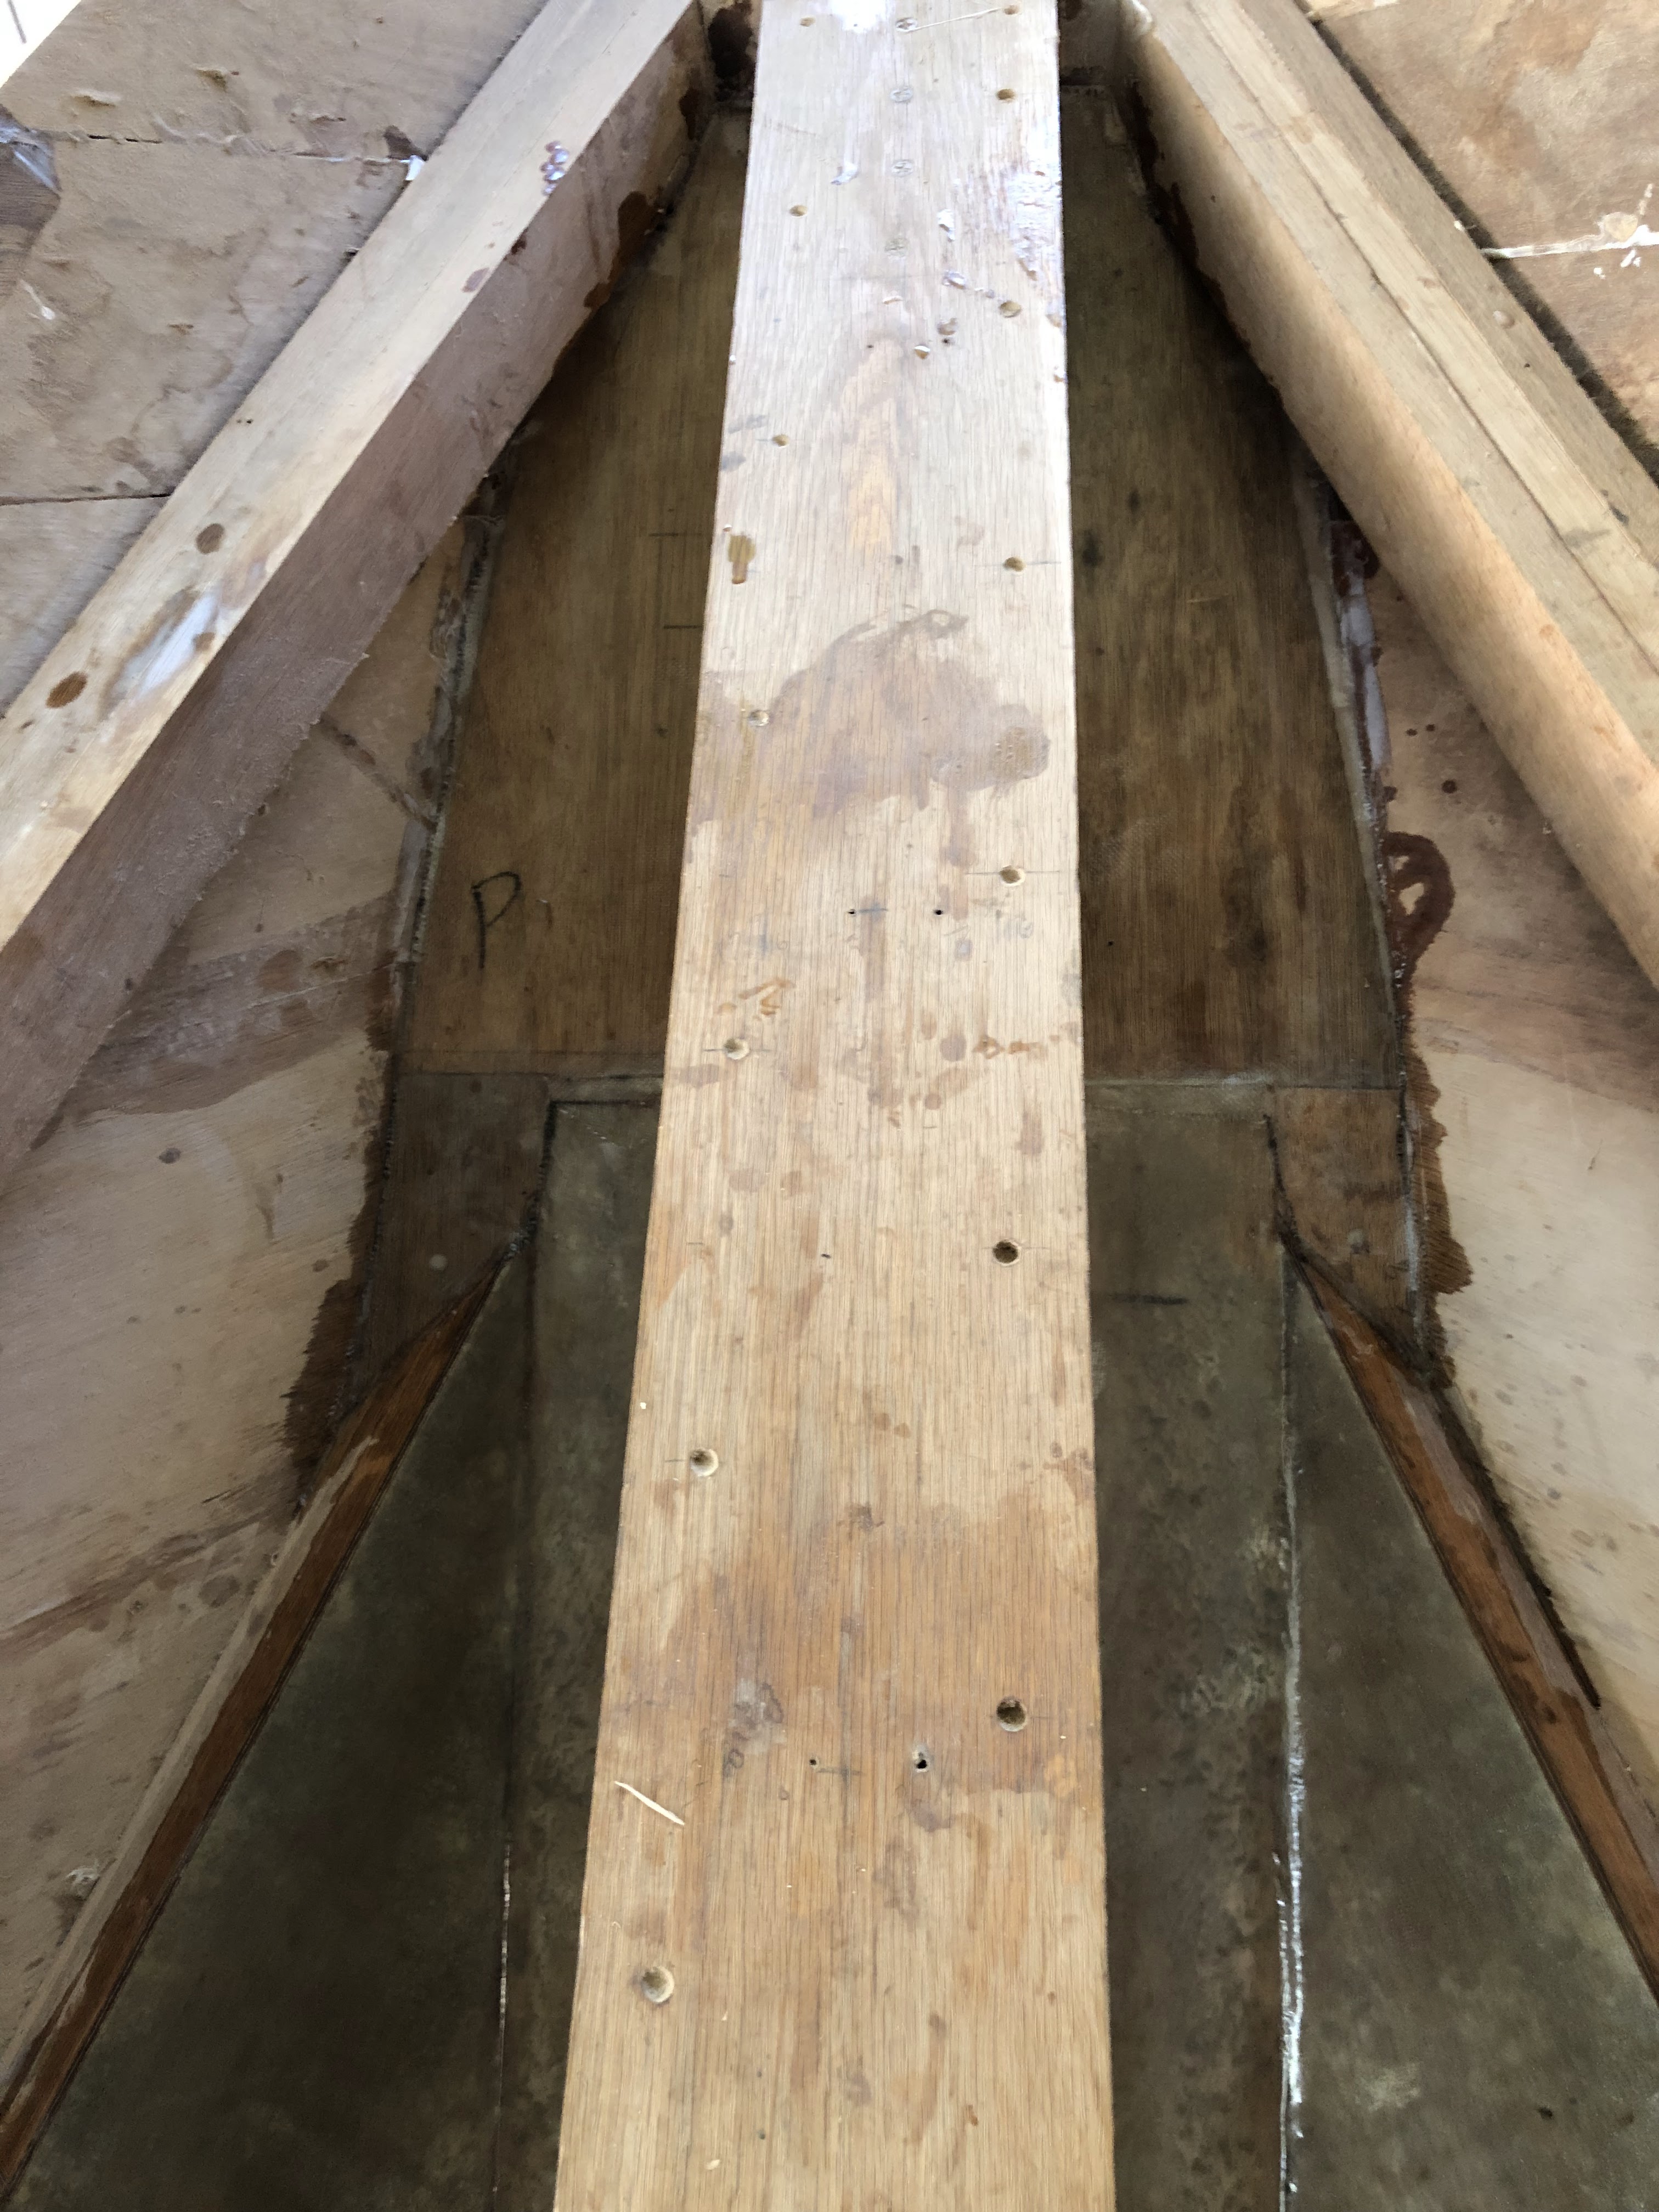
| The chain locker has a large open area in the forward bow section. I would like to finish that off nicely. |
 |
| I spent some time fitting these two pieces of plywood to finish off the chain locker. |
 |
| They fit more or less pretty well. There are two small areas or holes that need to be filled in. |
 |
| Small pieces meticulously shaped to fit those holes. |
 |
| Fitting the small pieces. |
 |
| Both small pieces epoxied in place. |
 |
| All glassed up. A few more layers of epoxy and some hard sanding is all it needs. |
 |
| Back to the shelves. |
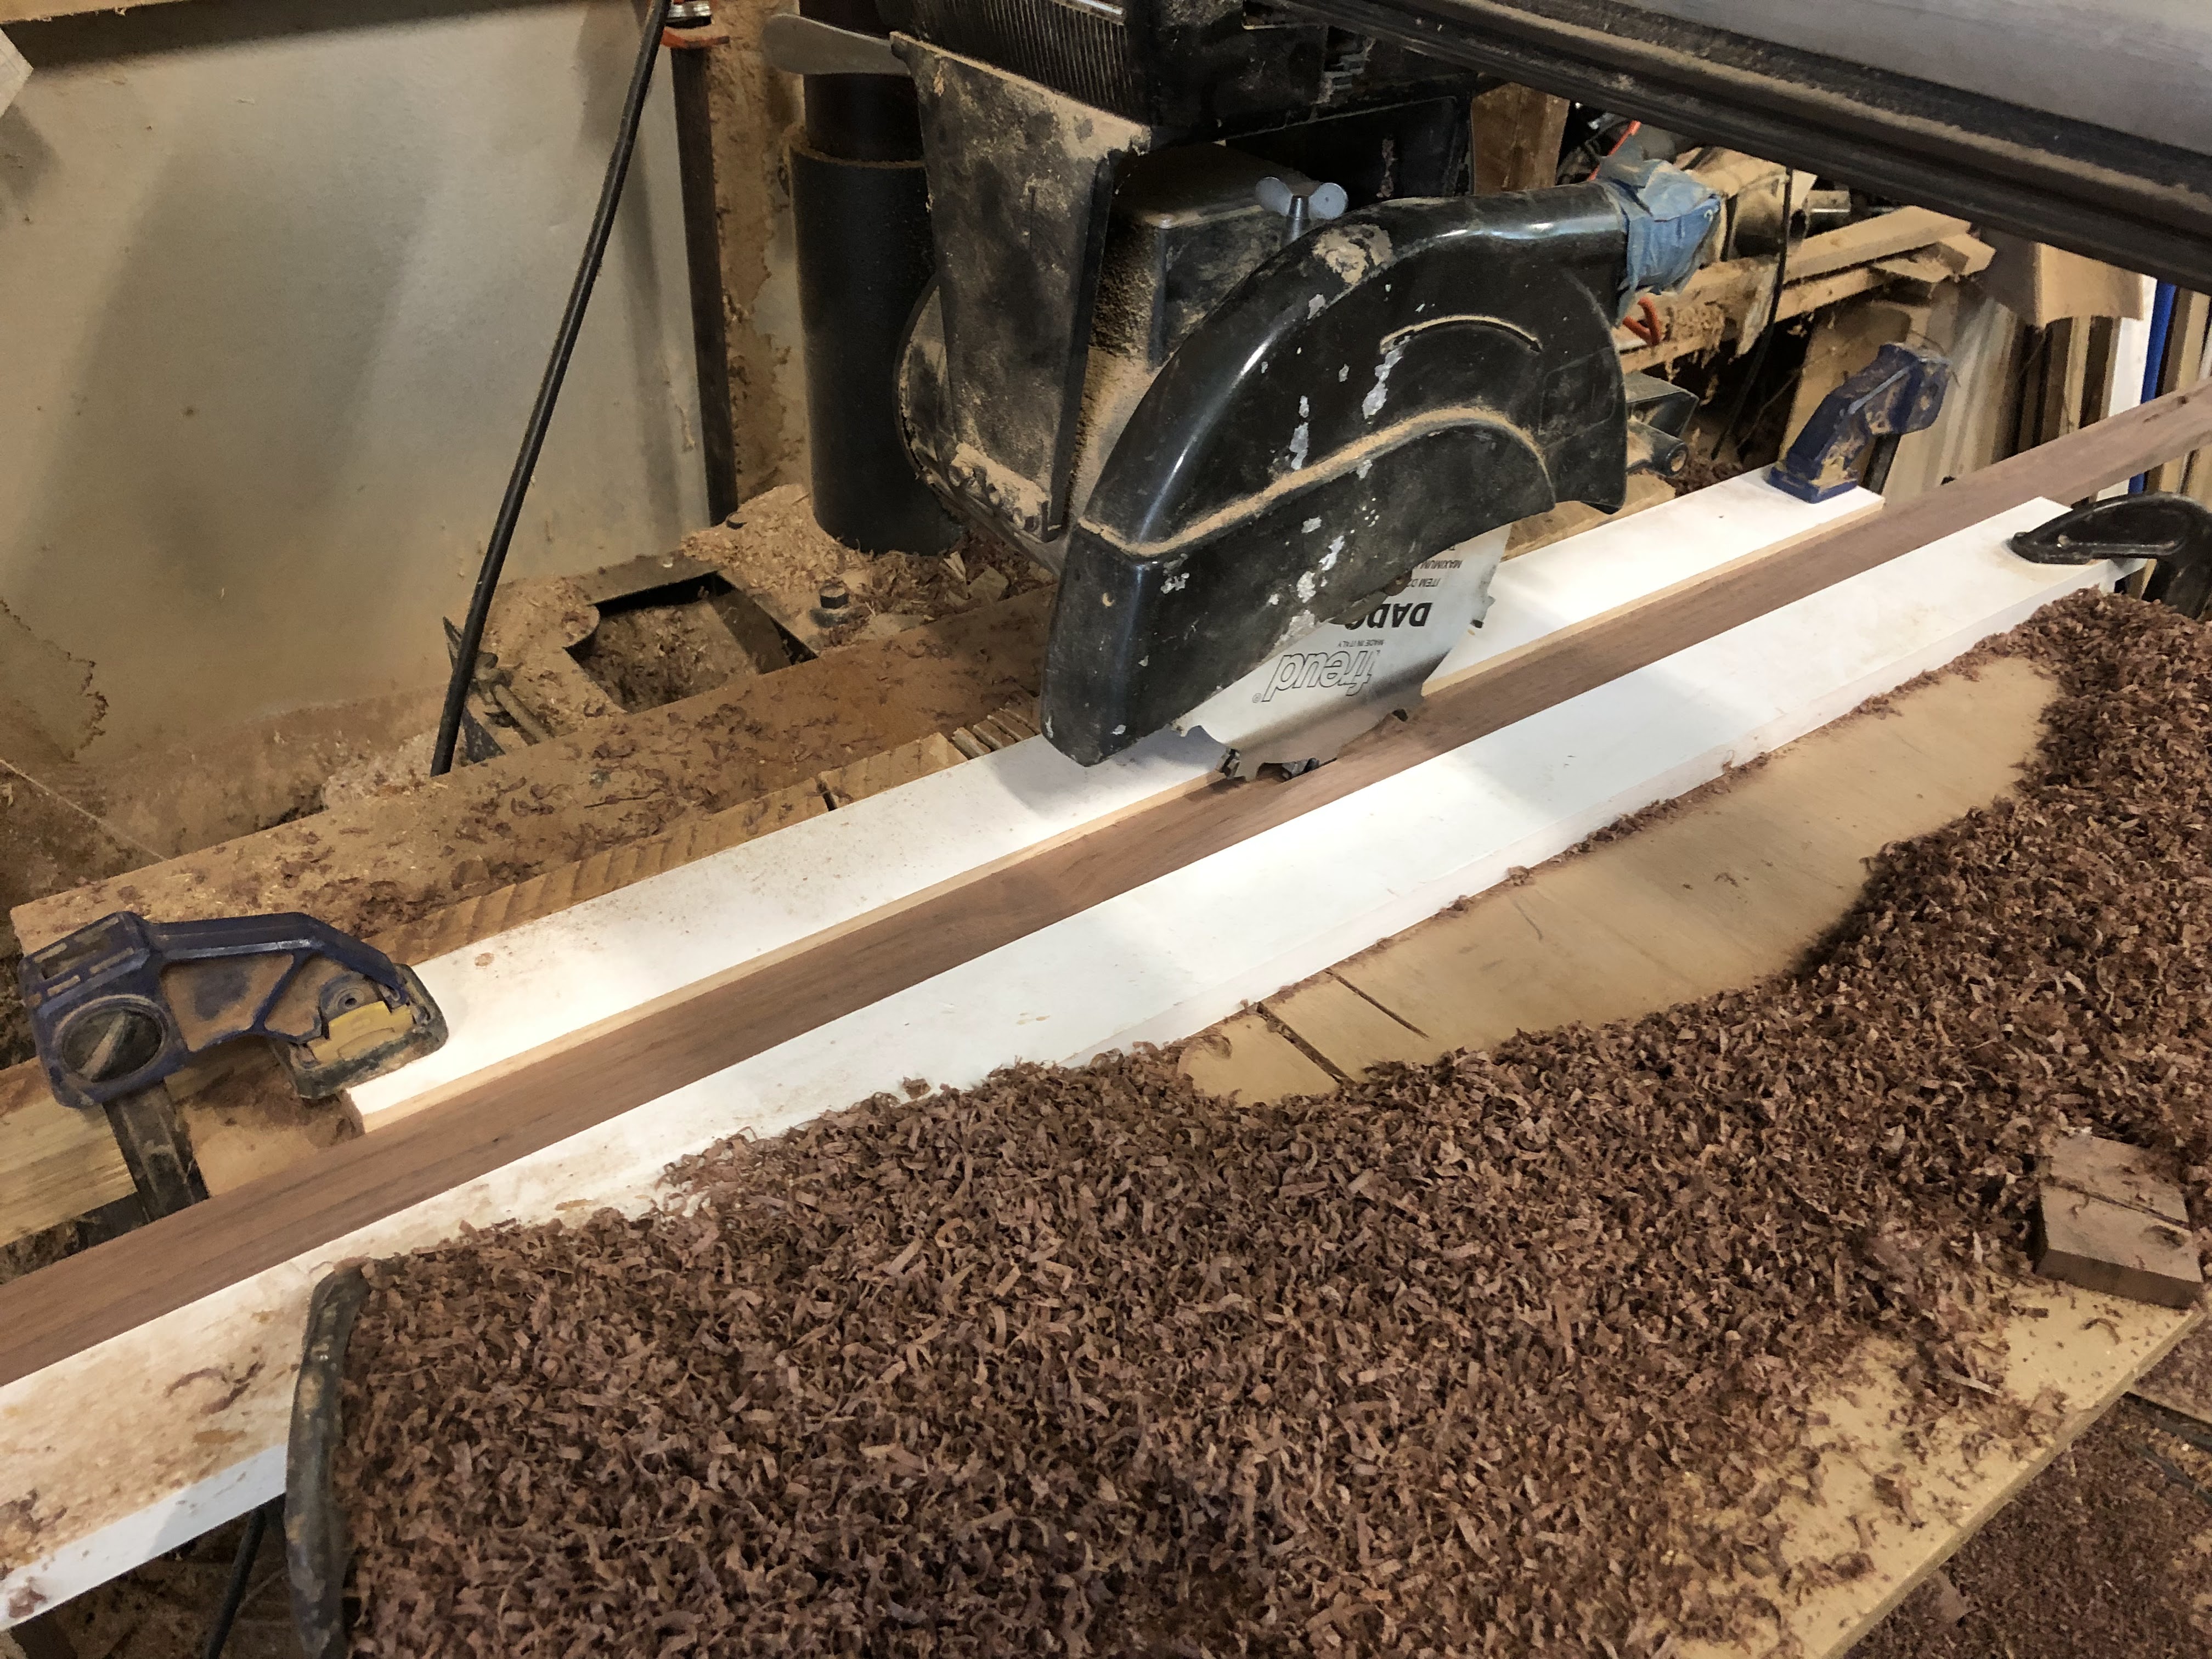 |
| Using the Dado blade to cut the grove to fit the edge of the shelf. Note that I always use a fence on both sides of the stock when pushing it through the saw and always against the feed. This way, you. only have to worry about the piece coming up although I have been know to add a feather board to prevent that as well. |

 | |
| I added a short shelf at the bottom for small things. |
I have finished out three lockers with shelves. All are about ten inches apart. I mostly see the shelves for shorts, tee shirts and underwear. I'm going on the assumption that you can't have too much storage.
March, 1
Doing some finishing up. I needed to make a sanding die to fit the drain in the showers. The recess area fit the drain (see photo below) but after fiberglass and epoxy build-up it need to be reshaped a bit. This sanding die will provide an even, level surface for the rubber gasket in the drain.
 |
| The die fits a common drill. There is a slight bevel to match the drain. There was a bit of trial and error. The first one I made was a bit too large and I had to turn it down a bit. |
 | |||
| The shower drain that will recess into the pocket made by the sanding die. |

| Working on the cabinet where the guest lavatory will be. |
March 12,
 |
| I have it temporarily set in place just to make sure it works. |
 |
| Cabinet door installed. |
 |
| I also made a sheet pan cabinet to the left. Always wanted one of those. |
 |
| This it the shared lavatory for the Vee berth. Sink hole not cut yet. There will be a mirrored cabinet door in the middle. |
 |
| Some details added and everything refit. |
 |
| The Lavatory for the port cabin. Sink hole not cut yet. |
 |
| I made a slight design change. I was going to screw that bull nose on but instead I used stainless steel brads and epoxy. When |
Feb 9
 |
| I finally hung that sliding door. I works pretty well. There was one hitch and it got better when I added some silicone spray. Might have to do a little filing. Lets see. |
Note: I did end up sanding the inner edge of the slot. Works even better now. I noticed if the door sits for awhile, it can stick initially. Maybe some lube. I removed most of it when I re-sanded.
 |
| A closer view of the upper track. |
 |
| A closer view of the upper track with the door open. |
 |
| We have a hall way! |
 |
| Most of the sole is in. I just need to finish that long access hatch. |
 |
| Another view of the sole from the companion way. |

Feb 16
The sole is complete. All access panels are made and put in place. I still need to buy a few more latches but buying stuff is never that easy. Money does not come easily. That is why I make most things.
I am starting to finish what I can of the interior cabinetry. I would like to hold off on finishing the upper cabinets in the galley until I have some more of the major systems in like refrigeration and range/oven. I am getting some of the uglies hidden. I had to hack out the plywood bulkhead in order to set the inner shear strake in place. I made these black walnut covers to hide the mess. There are 18 of these of various sizes. I have finished with all of the ones that are not inside lockers or bathrooms.
 |
| Don't look behind the walnut cover! |
Feb 23,
I've been slowly finishing things up on the interior. Finishing some wall partitions and sanding down old epoxy seams. I think it is time to get the top ceiling in. I temporarily installed a trial section (see January) to see what it will look like. Time to buy some material. Once the ceiling is in, all the overhead electrical can be installed.