|
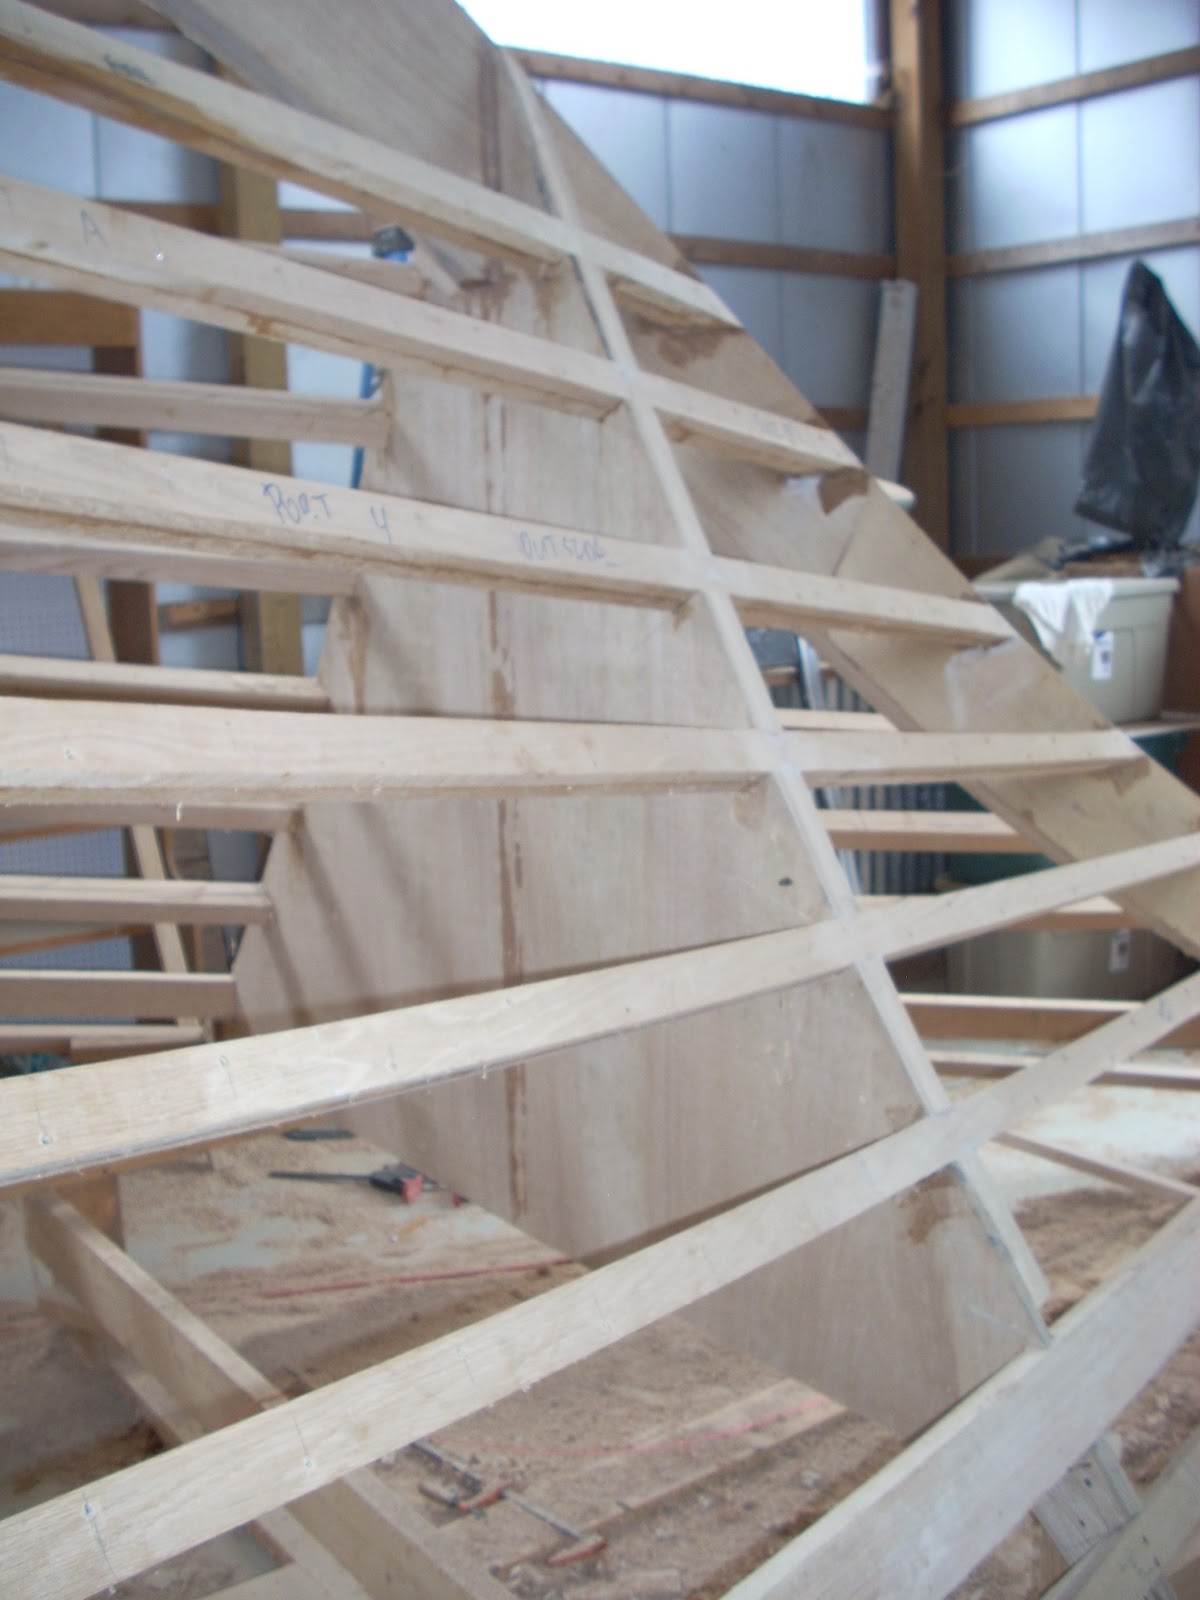
| The first lamination of the longitudinal battens are fitted to the starboard side of the hull. These are ready for epoxy and screws. |
 |
| You can see two of the tricky miters where the longitudinal battens meet the stem. The lower one runs through a notch as it meets the stem. If the shape of the stem and bulkhead were off, this transition would have never worked and I'd be in for a bit of additional work. Luckily, everything is going as planned. |
 |
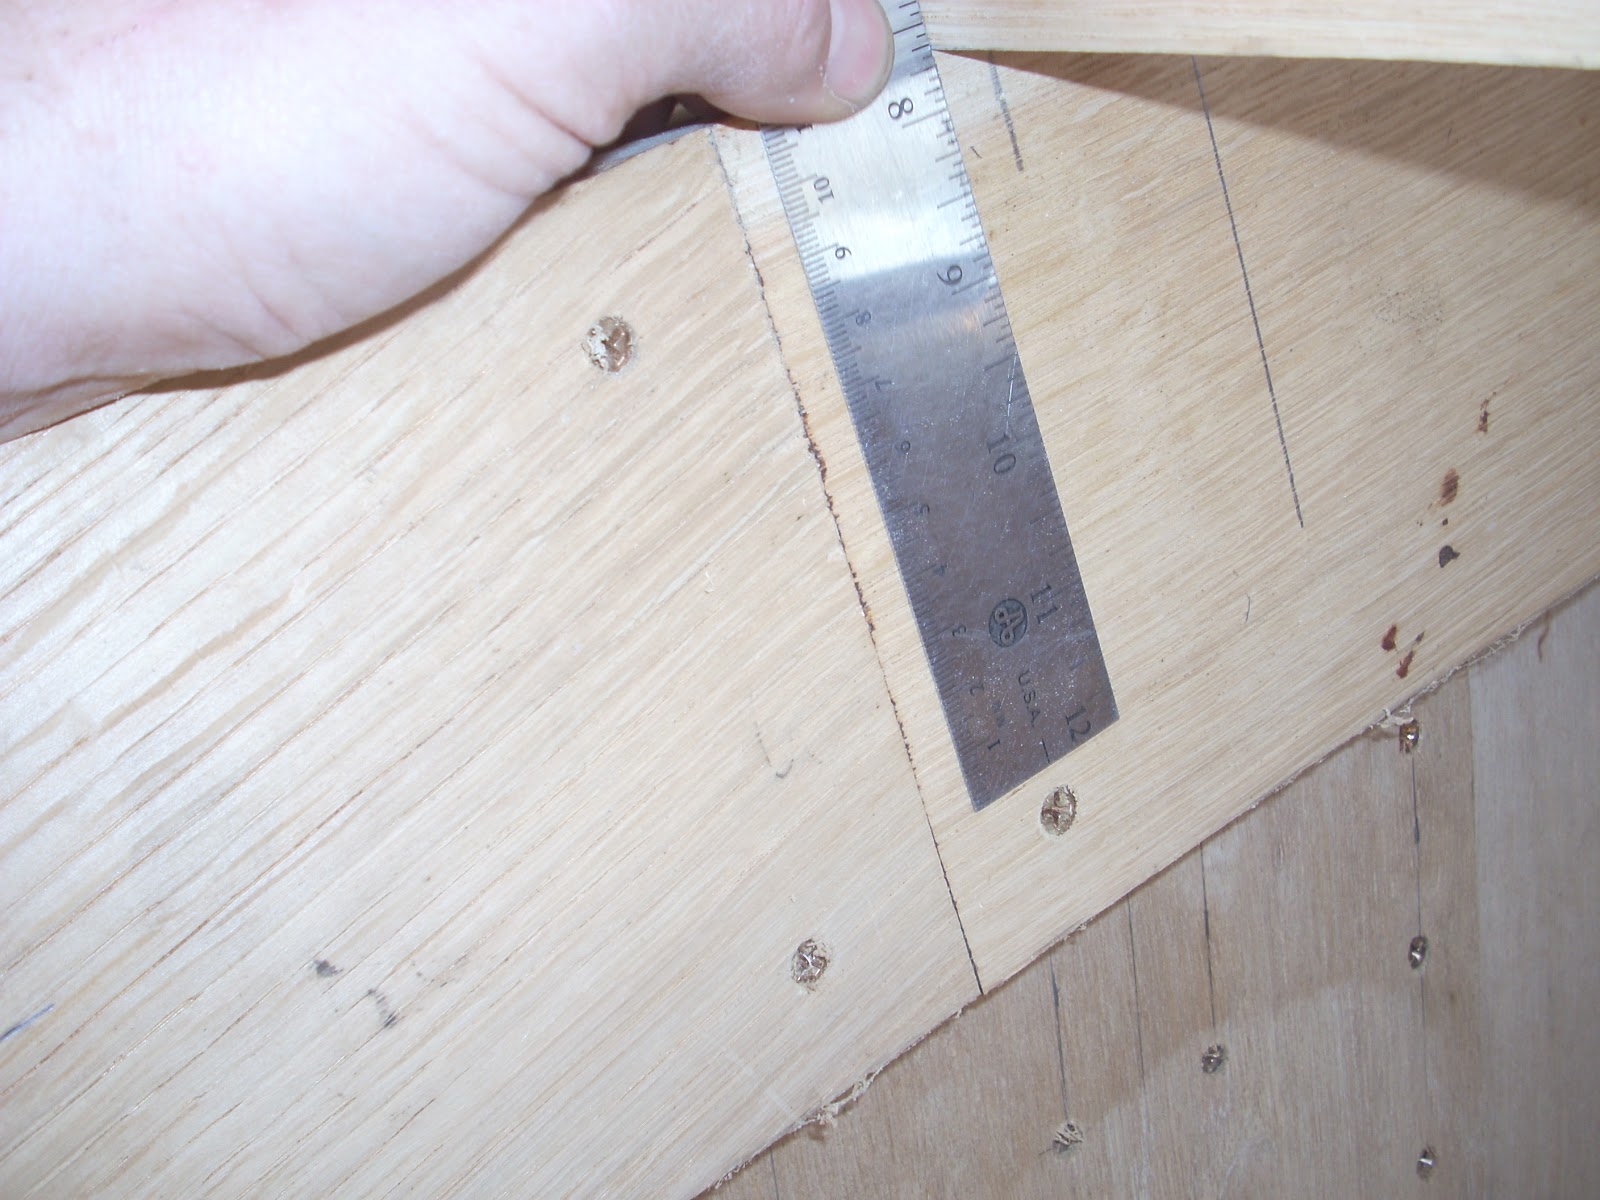
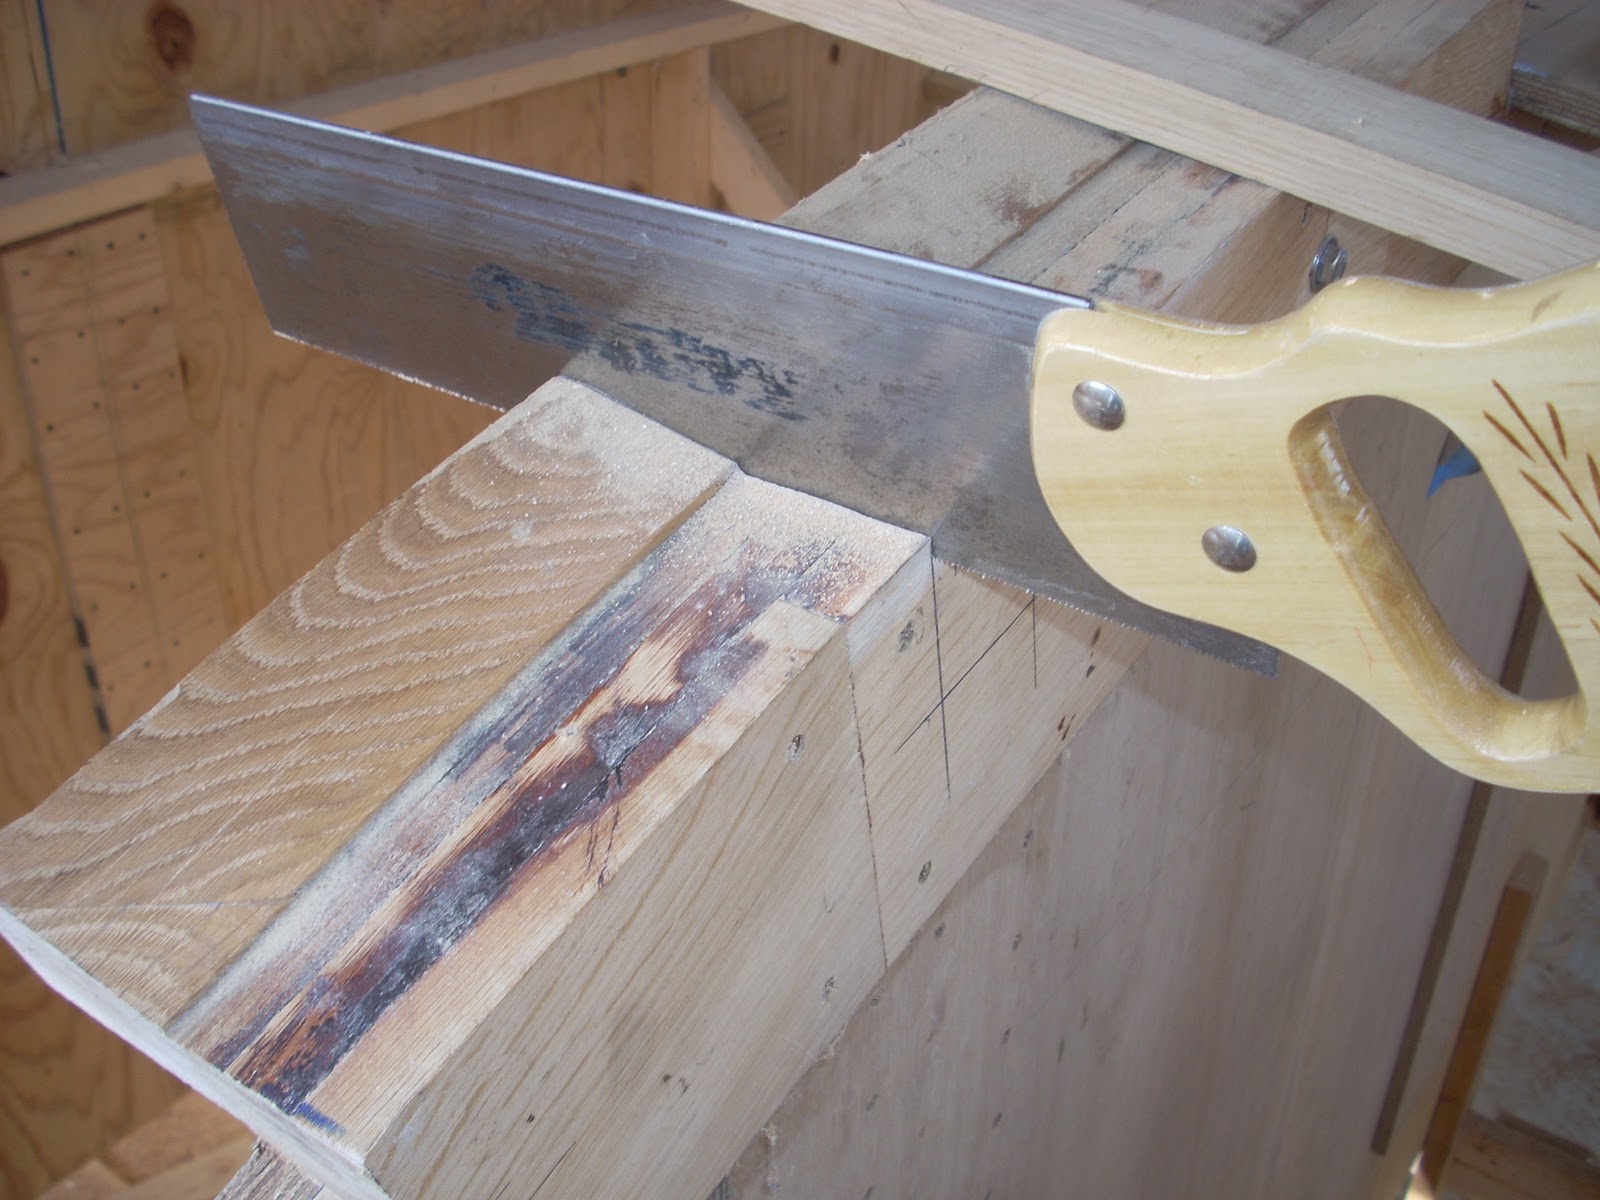
| This is the lowest (top when the boat is upside down) batten and it makes a gradual transition into the step. That was not an easy cut to make. The second lamination of the batten should meet flush with the bottom (top in the picture) of the stem. |
April 20, 2013
The following are a few shots of the boat as it stands today. The building is too small to get a really good shot of the whole thing.
May 6, 2013
All the longitudinal battens are in place where they belong on the hull. Three need to have their tapers cut where they attach to the stem and another three are ready to permanently install. It's so nice not to have to craw under 50 foot long battens all the time just to get to the other side of the work shop.
May 16, 2013
The longitudinal battens on the port side are permanently bonded and screwed into place. The starboard longitudinal tapers are cut and clamped in place waiting to be predrilled for installation. We are very close to finishing the framing for the hull. A little faring and laying in the keel laminations and we will be ready for the 'planking' phase. This will take quite a bit of epoxy so I have ordered a ~50 gallon drum of West System epoxy from West Marine (unrelated) in Nashville. They should have it by Wednesday about the same time that I'll scrape up enough money to pay for it. This will be the largest expenditure on the boat in 2 years but it will allow me to advance the construction through the finishing of the hull. This will represent half (depending on how you look at it) the construction of the boat but only 10-20% of the cost.
--Addendum March 15, 2015
I've been storing the epoxy in the one gallon cans and the hardener in the pint cans so that I can use the measured pumps for metering the parts out as well as the convenience of the easier handling size. My shop is not heated so the epoxy goes through freeze thaw cycles in the winter. This tends to crystalize the epoxy and make it thicken considerably. Heating the epoxy to 120 degrees F. will restore it to its former viscosity. I warmed my oven to 200 degrees F. and and turned it off. I then placed the can of epoxy with the cap off but with some foil lightly crimped around the opening in the oven for about 10 - 15 minutes. I watched it closely because I was concerned that I would stink up the house. My wife was home and she's got a very sensitive noise. To my surprise, the process went smoothly with no discernible outgassing. The epoxy was as good as new.
May 19, 2013
Not much epoxy work going on since the temperature here in Alabama is well into the 80's (27 degrees Celsius). I only have fast hardener (205) left and not much at that. I ordered a gallon of slow hardener (206) along with the 50 gallons of West epoxy. I hope to get up to Nashville on Wednesday to pick it up. I have not been idle though and have finished the rough faring on the port side of the boat. She is really starting to look good. I have also cut out the second lamination of the transom and butt glued it together.
May 23, 2013
The port side of the framing and faring is finished. There will be some fine tuning before the 'planking' commences. Today, I'm taking a trailer to Nashville to pick up a 52 gallon drum of West System Epoxy from our friends at West Marine.
May 29, 2013
June 17, 2013
The keel is finally permanently laid in place after installing it temporarily countless times.
I never attached the temporary sheer clamps to the transom because the jig was in the way. The sheer clamp is just a longitudinal batten that marks the end of the bulwark. With the keel installed I can now remove the rear of the jig and install the clamp. The temporary sheer clamp provides a solid member to attach the hull laminations beyond the deck in order to create the bulwark. It will be removed after the boat is turned over. Then the permanent bulwark cap will take its place.
One of the things that you need to prepared for when working on a project of this magnitude is tool failure. If I had to buy a new tool every time one broke I would not be able to afford to work on the boat. First of all buy the best tools you can afford (not the most expensive). The best tools are those that do only one thing. I do not believe in multi-tools they tend to do a lot of things poorly and are generally not made well. When a tool fails be creative about fixing it.
 |
| Port side of the boat taken from the stern looking forward. |
 |
| Port side of the boat taken from the bow looking aft. |
 |
| Port side of the boat showing the longitudinal battens converging on the transom. |
 |
| This is a fun shot standing on top of the keel (or where the keel will be) and looking down at the bottom of the stem. The "C" clamp is placed onto the batten to help make the twist necessary so that the second batten lamination will be flush with the stem. I use the leverage the "C" clamp gives me in order to twist the wood. My batten twister that I made for this purpose won't fit into the space. Improvisation has been my constant companion especially working alone most of the time. |
 |
| It's always good to get a little help or better yet two. The little girl is Sophia, daughter of our good friend Ana and the boy is Isaac, the son of our good friends Michael and Stephanie. |
All the longitudinal battens are in place where they belong on the hull. Three need to have their tapers cut where they attach to the stem and another three are ready to permanently install. It's so nice not to have to craw under 50 foot long battens all the time just to get to the other side of the work shop.
May 16, 2013
The longitudinal battens on the port side are permanently bonded and screwed into place. The starboard longitudinal tapers are cut and clamped in place waiting to be predrilled for installation. We are very close to finishing the framing for the hull. A little faring and laying in the keel laminations and we will be ready for the 'planking' phase. This will take quite a bit of epoxy so I have ordered a ~50 gallon drum of West System epoxy from West Marine (unrelated) in Nashville. They should have it by Wednesday about the same time that I'll scrape up enough money to pay for it. This will be the largest expenditure on the boat in 2 years but it will allow me to advance the construction through the finishing of the hull. This will represent half (depending on how you look at it) the construction of the boat but only 10-20% of the cost.
--Addendum March 15, 2015
I've been storing the epoxy in the one gallon cans and the hardener in the pint cans so that I can use the measured pumps for metering the parts out as well as the convenience of the easier handling size. My shop is not heated so the epoxy goes through freeze thaw cycles in the winter. This tends to crystalize the epoxy and make it thicken considerably. Heating the epoxy to 120 degrees F. will restore it to its former viscosity. I warmed my oven to 200 degrees F. and and turned it off. I then placed the can of epoxy with the cap off but with some foil lightly crimped around the opening in the oven for about 10 - 15 minutes. I watched it closely because I was concerned that I would stink up the house. My wife was home and she's got a very sensitive noise. To my surprise, the process went smoothly with no discernible outgassing. The epoxy was as good as new.
May 19, 2013
Not much epoxy work going on since the temperature here in Alabama is well into the 80's (27 degrees Celsius). I only have fast hardener (205) left and not much at that. I ordered a gallon of slow hardener (206) along with the 50 gallons of West epoxy. I hope to get up to Nashville on Wednesday to pick it up. I have not been idle though and have finished the rough faring on the port side of the boat. She is really starting to look good. I have also cut out the second lamination of the transom and butt glued it together.
 |
| The second lamination of the transom clamped and glued together. Clamping, except for the one in the front, consists of temporarily screwing one side of the transom to the table and then applying glue to the butt. Wax paper is laid along the glue joint on the table side in order to prevent gluing the transom to the table. After glue is applied to the joint, I bring the remaining transom piece into contact with the 'clamped' one and screw them together. This will make a nice joint that is as flat as my table. |
The port side of the framing and faring is finished. There will be some fine tuning before the 'planking' commences. Today, I'm taking a trailer to Nashville to pick up a 52 gallon drum of West System Epoxy from our friends at West Marine.
 |
| The framing for the port side is finished. Also note that the rough faring of the floor boards and bulkheads are also complete. I expect some fine tuning of the faring once both sides are finished. |
 |
| In the West Marine store East of Nashville standing next to my 52 gallon drum of West Epoxy. We loaded it onto my trailer with a forklift and made the 2 hour journey back home. |
 |
| All the longitudinal battens are installed and the bulkheads and floor timbers are shaped to the hull. Some fine tuning on the faring still needs to be done. |
The keel is finally permanently laid in place after installing it temporarily countless times.
 |
| The keel laid in place before faring looking aft. |
 |
| The keel laid in place before faring. A closeup looking aft. |
 |
| The keel laid in place before faring looking forward. Notice the discontinuity between the edges of the keel and the bulkheads. This will have to be faired to match. See below. |
 |
| A closeup of the the stem and keel coming together. The top of the keel has been faired to match the stem. Now it will have to be faired to match the bulkheads. The black line is where material will have to be removed in order to create a fair hull. The line was determined using the method shown in the following figures. Copious amounts of epoxy were used with the keel layup to ensure a good bond. The drips will have to be sanded clean where they will prove unsightly. |
 |
| This view shows a batten bent over the bulkheads where they meet the step. The batten shows me where I need to remove material to make the transition smooth. |
 |
| More of the batten showing me where I need to remove material. |
 |
| The mostly faired keel now showing a smooth transition between keel and bulkheads. Some refinements still needs to be performed. |
 |
| This image shows the positioning of the temporary sheer clamp on the port side of the transom. I use a short temporary piece of wood to ensure the sheer clamp (last longitudinal) mounts flush with the transom hull lines. I then screw it in place in such a manner that I will be able to remove it at a later time. |
 |
| The last 'floor board' that will be attached to the forward bulkhead to add support to the stem attachment. It will be bolted to the bulkhead frames and lag bolted through the bulkhead into the stem. I used a chisel to make the long beveled cuts. It was really nice to use a chisel in this controlled environment instead of upside down and sideways working on the notches. |
 |
| Last floor board member installed! It is bolted to the bulkhead through the sawn frames. Later I'll add large stainless lag bolts through the floor board into the stem. |
One of the things that you need to prepared for when working on a project of this magnitude is tool failure. If I had to buy a new tool every time one broke I would not be able to afford to work on the boat. First of all buy the best tools you can afford (not the most expensive). The best tools are those that do only one thing. I do not believe in multi-tools they tend to do a lot of things poorly and are generally not made well. When a tool fails be creative about fixing it.
 |
| The right item is the original tension release for a sanding belt on a belt sander. It is made of plastic and was doomed to fail. The right item is a newly fabricated replacement that I made out of some spare aluminum. It works better than the original. |
 |
| The new tension release lever installed in the belt sander. Just above the handle you can see a switched that I installed to replace the failed trigger switch (~$80). It has two settings: constant pressure forward operation or permanent on in the rear position. I just happen to have this switch laying around. You need to be careful that the switch is not pulled back before you turn it on or the sander will run away. |