Tuesday, May 4, 2021

May 2021

 May 4,

Worked on the tanks again this weekend.

I am welding in the side of the black water tank that will fit in the curved bilge.  I start by welding the inside.   This side piece is critical because it will fix the curvature and define the one side that is square.  I did not properly model the tank here and stepped back to produce a full three dimensional model.

Shown here is the full three dimensional model.  Note that  the part that lays on the table is square while the rest is not.  This is correct.  When I welded the outside,  enough heat is generated that the plastic relaxes into the correct angle.

Heating the bottom of tank 2.  I'm using the 3 dimensional jig (model or mold) of the tank here and the results were perfect.  When I took off the clamps,  the HDPE plastic did not spring back and laid comfortably on the mold (except for the very ends which easily clamp down). 

May 7,

I took a lunch break and worked out how to make the inspection ports for the tanks.  Basically I've cut out a 14.5 inch circular disk from the HDPE for a port cover and made a doughnut of the same outside diameter for a backing plate.  I'm going to thread the backing plate and tank skin to accept a bolt.  This is just to keep the bolts in place during installation. I will use nuts on the bolts to actually hold the port in place.  

This will be the ring for my backing plate.  I've mounted it on a jig to put in a wood lathe were I will cut out the center to leave a ring.

Just the back side of that backing plate jig. 

Attached to a lathe and cut with a nice finish.  


inspection port cover in the top of the figure with the backing ring at the bottom.


Fitting the tanks.  I placed the tanks in the bilge so I'd get the curvature to the sides correct. 

May 15,

Clamped up and ready to weld    

All four sides are in.

Measuring to build the first internal baffle.

Fitting the baffle.  It needed a minor adjustment.  Also note that there is now a lip around the edge that will eventually receive the top.


Friday, April 2, 2021

April 2021

 April 2,

I'm very excited about finishing the deck house.  Once it is finished, all the framing for the boat will be complete.  Decking won't go on until near the end of the construction because I want all that access afforded by leaving the deck off (and the deck house roof).  I'm waiting on delivery of the high density polyethylene (HDPE) welding rod but once the laminated beams are complete, I will remove that jig on the table and have room to start cutting HDPE.  Until the tanks are in, I'll leave the main deck house roof unglued to make it easier to drop the tanks in.  After the tanks and plumbing, we will continue cabinetry work.

I took a week off work to get a few things done around the house and work on some of my favorite projects... yep the boat is on the top of the list.


Fabricating the main hatch.

I finally was able to purchase the 3/8" HDPE sheets to build the black water and fresh water tanks.  There will be 4 tanks, 2 each for black water and 2 each for fresh water.  A total of around 200 gallons of fresh water and a bit less for black water.  

I have my 3/8" (9.5mm) high density polyethylene sheets (HDPE).  There are eight 4 x 10 feet (1.2 x 3 m).  Plenty of material for ~200 gallons of fresh and ~200 gallons of black water tanks.  I also have my welding tips for the Leister hot are welder but the welding rods are on back order.  

Welding tips for the hot air welder.  The one in the middle feeds triangular welding rod into a corner.  


April, 4
I've got the main entry temporarily screwed together.  I added a taper to the entrance so our slats can only go in one way.  No confusion and these pieces protect the end grain of the plywood.  One of the biggest issues with plywood construction is unprotected end grain.  We are ready to take all this apart and add glue and real fasteners.  I'll probably hold off until I get the tanks built and installed.  I figured it would be easier to get them in the boat without all those beams in the way.  I still have 4 of those beams to fit.  I can glue up one beam a day now that I have all the wood cut and scarfed together.  

April 11,

I cleaned up the shop a made some jigs to try my hand at welding the tanks.  There was a bit of a learning curve but it is not as difficult as welding metal.  It is much more forgiving.  You can stop for a second and start back without broadening the weld pool.  Well there really never is a weld pool.  It's more of like hot glue.  There is a fatigue factor with feeding the welding rod into the tip.  Don't rush the weld.  Just let the pressure of feeding the welding rod move the tip along the work while holding the tip a few millimeters off the work and using the "hat" on the tip to press the welding rod into the work.  The welding rod will become clear on the outside with a core that remains white.  This is the perfect temperature for laying a bead.

This is one of my first practice welds.  I weld both the outside and the inside. 

I bevel one piece so there is a grove where I fill with weld on the outside.
 
I use the router to make a quick bevel.  It works amazingly well.

Watch the corners.  Here you can see that the corner is popped out a little.  It's not a real problem but I want to avoid it as much as possible.  In the future, I'll make sure the pieces are all well supported.

I made a jig to hold the tank pieces in place when they are being welded.  Here I'm fitting the last side before welding.  Even with the jig, the sides tended to contract and bend toward the weld.  You can see the sides bending in in the middle.  I still have to weld the outside.  I'm hoping when I do it will straighten up. If not, the internal baffles should be sufficient to straighten the sides especially after the top is welded in.

I make a few mistakes.  I was having trouble with the inside corners.  I was not waiting long enough to reeled where I missed a bit or left a gap.  You need to let the work completely cool before re-welding or adding an additional bead.  I cleaned this outside corner up very nicely.  Now the top piece (in this view) had the bevel around the edges so that when I welded, I just filled up that "V" groove.  This is cleaned up a bit but it went very well.  There is still a bit of warpage on the sides.  See April 18.

April 18,

The second tank was built over the weekend.  I left it on this jig (some 2x4s that hold the sides square that are under the tank) for a few days.  The sides held closer to 90 degrees than the last one.  I'm going to put the other one back on the jig and see if it won't straighten back up as well. 

The 1/4" plywood in the middle of the figure is a pattern for the forward part of the black water tank.  It fits perfectly.

Another 1/4" plywood pattern for the rear part of the black water tank.  It fits perfectly after a bit of adjustment.

The next problem to solve is creating the bend in the bottom piece of the polyethylene. It is a bit too much curvature to force in place.  I could but there would be a lot of tension.  I'm going to make a mold and and try to heat the material to close to 280 F (138 C) to create the curvature.  My plan is to use a forced air propane heater at somewhat close proximity to heat the plastic.  

April 24,

I've made a form that matches the hull where the black water tanks will sit.  I've clamped the HDPE to the form.  It is not that bad of bend after all and we might get away with just cold bending but I think it will be better and easier to try to make a permanent curve by heat forming.

The temperature to reach placidity for HDPE is 280 F (138 C).  I figure I can get away with a lower temperature held for a longer time.  I'm using a forced air kerosene heater typically used on construction sites.  At close  distances, I can probably get the plastic to 280 F (138 C) but nut uniformly.  So I'm moving the heater around slowly to get the plastic to where it is fairly hot to the touch (much less than 280 F).  At this point, the plastic is a bit softer and the stress of bending will allow the molecular chains in the plastic to slip.  When cool, the plastic should (and did) retain most of its shape. 


Friday, March 5, 2021

March 2021

 We've made a bit of progress in this month already.  The forward deckhouse framing is nearing completion.  I've got to get some of the decking on the roof down in order to start framing the aft end of the deck house which steps up about a foot (30 cm).  The forward corner posts (on the higher part of the deck house) sit on the roof of the lower deckhouse.  Hopefully this will all be clear in the next few weeks.

The forward deckhouse framing is getting close to completion. The wide space between laminated athwart beams is where the forward hatch will go so I still need to frame the hatch sides.  I also will notch in deadwood lengthwise for where the plywood butts.  This deadwood actually will ensure that the roof beams make a smooth transition forward to rear since there is curvature along the length of the deckhouse roof.  Everything you see, with the exception of the front of the deckhouse, is permanently glued and fastened.  The deck clamps holding up the laminated beams still need another lamination.  You can see the long second layer of clamps lying to the left and right of the deckhouse waiting installation.

March 7,

Deck clamps doubled up and 1"x2" 'deadwood' laid into notches to support where the plywood for the top will break.  

Deckhouse roof plywood temporarily clamped in place.  There will be a ceiling and a 1" (2.5 cm) gap between the plywood and the ceiling.  Which is kind of a shame because this looks pretty good.  But I'll need the space for backing hardware and I think the air gap will benefit heat mitigation. 

March 14,
Starboard side mid deckhouse post ready to have bolt holes drilled.  I've since made the port side and drilled and bolted with temporary zinc bolts.  I had to order some 4.5" stainless bolts for these since I did not have the right size in my inventory.  This is the transition between the higher mid deckhouse roof and the lower forward deckhouse roof.  

This weekend was a slow boat building weekend.  Laura and I spent some quality time enjoying the wonderful spring weather and I worked on her 1971 Fiat spider that I promised to have running this weekend.  Well, the front end needs major adjustment (after a major rebuild) and there was a small break fluid leak.  I fixed the leak and rough adjusted the front end so that the car was drivable.  I'll need to bleed all four break lines and have the front end professionally aligned but we did take it for a short drive.  I did manage to spend a few hours on Saturday and Sunday working on the boat.  I got both mid deckhouse posts roughed in and laminated more deckhouse roof beams.  I'm getting about one made every two days.  I keep running out of clamps.  I buy more and I seem to run out even quicker.  Who knows.  I think the more you have, the more you need.


March 21,


Maybe I can put a charm on this saw and get it to cut the wood on its own. This is one layer of the deckhouse roof clamp where it half laps into the deckhouse post.    

These are temporary supports to ensure that the first layer of deckhouse clamp maintains shape and is symmetrical with the other side.  Once all the laminated beams are in place, these supports will no longer be needed.


The deckhouse is high enough to provide unencumbered head room but low enough for the pilot to see over the top.  You can see the pilot seat in the rear.  The pilot will sit on the deck with feet into the cockpit.

The first laminated beam over the galley set into place.  That board with the notch in it acts like an adjustable shelf for the beam.  I use a wedge to raise and lower the beam until it fits perfectly.

A close up of those temporary plywood braces holding the deckhouse clamp in place.  Notice the spacer between the plywood and clamp.  The clamp is two laminations and I've just got the inner lamination in place so I need that spacer to make the difference.

Well, that didn't quite go as planned.  I had originally placed the clamp (top 1x4) at the correct height on the corner post.  At some point I decided it was wrong ( I measured the wrong spot ) and cut the notch lower and glued and fastened it all together.  The next day, upon careful measurement, I realized that I placed it an inch (2.5 cm) too low.  I had to drill out the stainless steel screws and cut epoxy out and pry it off to raise it the inch where it needed to be.  Now I'll have to fill that little notch below the clamp.  Luckily I have just the piece of wood to fill the void.  Just about anything can be fixed.  Don't panic.

March 24,

From the pilots seat.  A nice clear view forward.  I've installed three of the laminated beams above the main salon.  


Wednesday, February 10, 2021

February 2021

 February 10,

This month we are planning to frame out the deckhouse.  I previously said that I would wait until the interior is finished before doing that but I have since changed my mind.  I think it would be better to build the interior to the deckhouse and not leave it pieces hanging that will attach to the deckhouse for later.  Besides I really don't think It will get in my way.  I'm not planning on putting the deck on yet (just the framing) except where the two deckhouses overlap.  I'd like to keep the boat open-air for as long as possible.  

So far I've cut all the upper deckhouse clamps and have started to scarf them together.  They are made of two laminations of 1" (2.5 cm) lumber.  I'm installing the inner layer first where we can attached the laminated beams that will support the roof deck.  I'm going to screw the laminated beams into place from the outside of the inner layer of the deckhouse clamp.  I'll then laminate the second layer of the deckhouse clamp and cover up those screws.

Temporarily positioned deckhouse roof clamp into place for fitting.

This is where the upper deckhouse clamp notches into the forward deckhouse post.  

Cut, fitted and temporarily installed.  It was way too cold for epoxy work.

This is a side view of the new deckhouse upper clamp.  This is one of two laminations.  I'm affixing the deckhouse laminated roof beams to single lamination of the clamp and then I'll add the second lamination. 

Deckhouse laminated roof beams going in at 16 inches on center.

More deckhouse beams.  Not permanently installed yet.  It was too cold outside for epoxy work.

A view from the aft end of things.


February 20,

I needed to adjust the placement of those laminated beams just a little so the plywood would break (fall on a seam) better.  Rookie mistake that I have not made in 20 years but sometimes context will get you.  It was easy to do.  Sliding them aft an inch tightened them up a bit.  I had plans to adjust the cuts on a few but it turned out to be unnecessary.  Sometime you get lucky.  I also installed the lsat one forward off the bulkhead.  Tomorrow is going to be the first day in two weeks that temperatures will stay above 40 degrees (4.4 C) which is the minimum curing temperature for the epoxy.  I got some more beams prepared for laminating since I've installed all I have.  I was thinking about how to handle the top of the bulkheads. Do I only put one beam against the bulkhead?  What about the other side?  It would need trim and look odd.  My solution was to laminate a wider beam and cut it down the middle and attach them to either side of the bulkhead.  I think this will be a nice finishing touch.  The resultant beam against the bulkhead will be slightly wider than half the free hanging ones.  A pleasing look I think.  

February 21,

Very nice sunny day.  Still some snow on the ground but very lovely.  There was quite a lot of work on the boat that was fastened temporarily waiting on a day like this.  I got the aft deckhouse corner posts epoxied and bolted into place.  And I got the entire port deckhouse bottom clamp finished and some of the starboard side.  I had not finished making the starboard side because that is where I have a little platform to make it easier to get in and out of the boat.  I'll end up modifying that platform and finishing the clamp in the next week or so.  I really do not need it finished at this time so I'm concentrating on things that will stall progress.

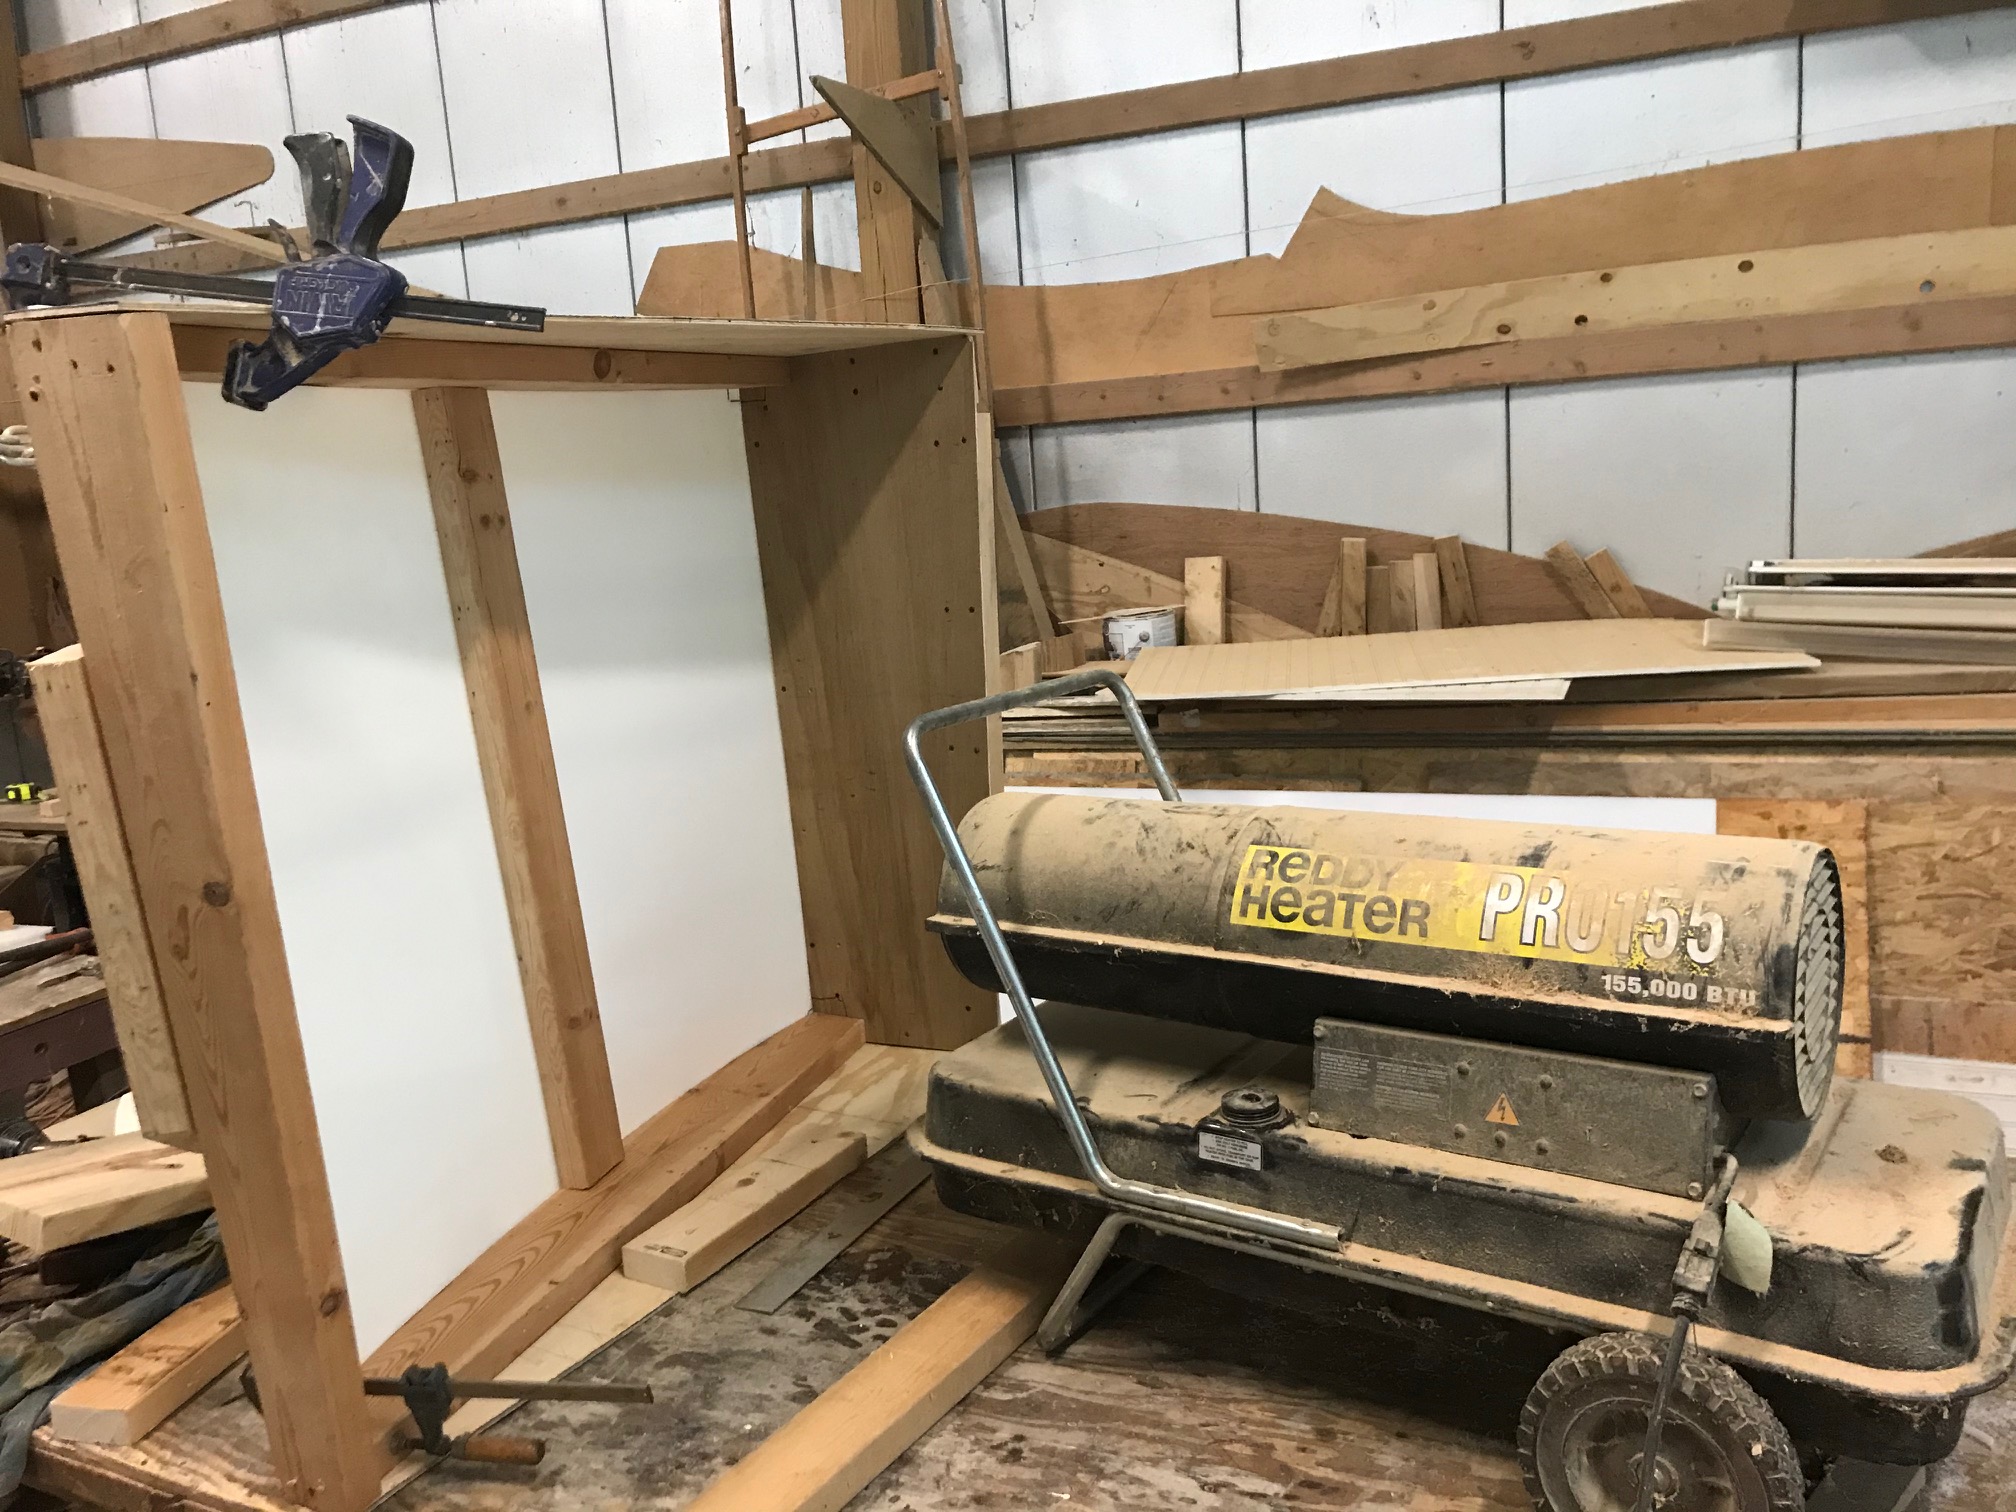
In the back are the normal laminated beam layers being scarf jointed for the proper  length.  In the foreground is the 2 5/8" wide beam being laminated.  I'll run it through the table saw and make two when it is cured.  Much easier than making two with only one form.  I'll clean up the edges by lightly running it through the planer.   

We should have a few good weather days this week.  I'm planning on making those laminated beams before work or during lunch depending on the temperature.  This weekend is going to be raining and warm.  A great time to work on the boat.  No distractions.

February 28,

The weather was perfect over the weekend for working on the boat.  The work I had performed in preparation for the weekend was not so perfect.  When I installed one of the laminated beams, it was 2.5 cm too low.  It turns out that the laminated beams shown being glued together above were made on the wrong form.  The form showed above is for the deck beams which are all made.  I'll trace this mistake back a few months after I made the last deck beam.  I just removed the wrong jig.  It's a good thing I still had the pieces and they were numbered so it was easy to put back together and I only made two so it's not too bad.

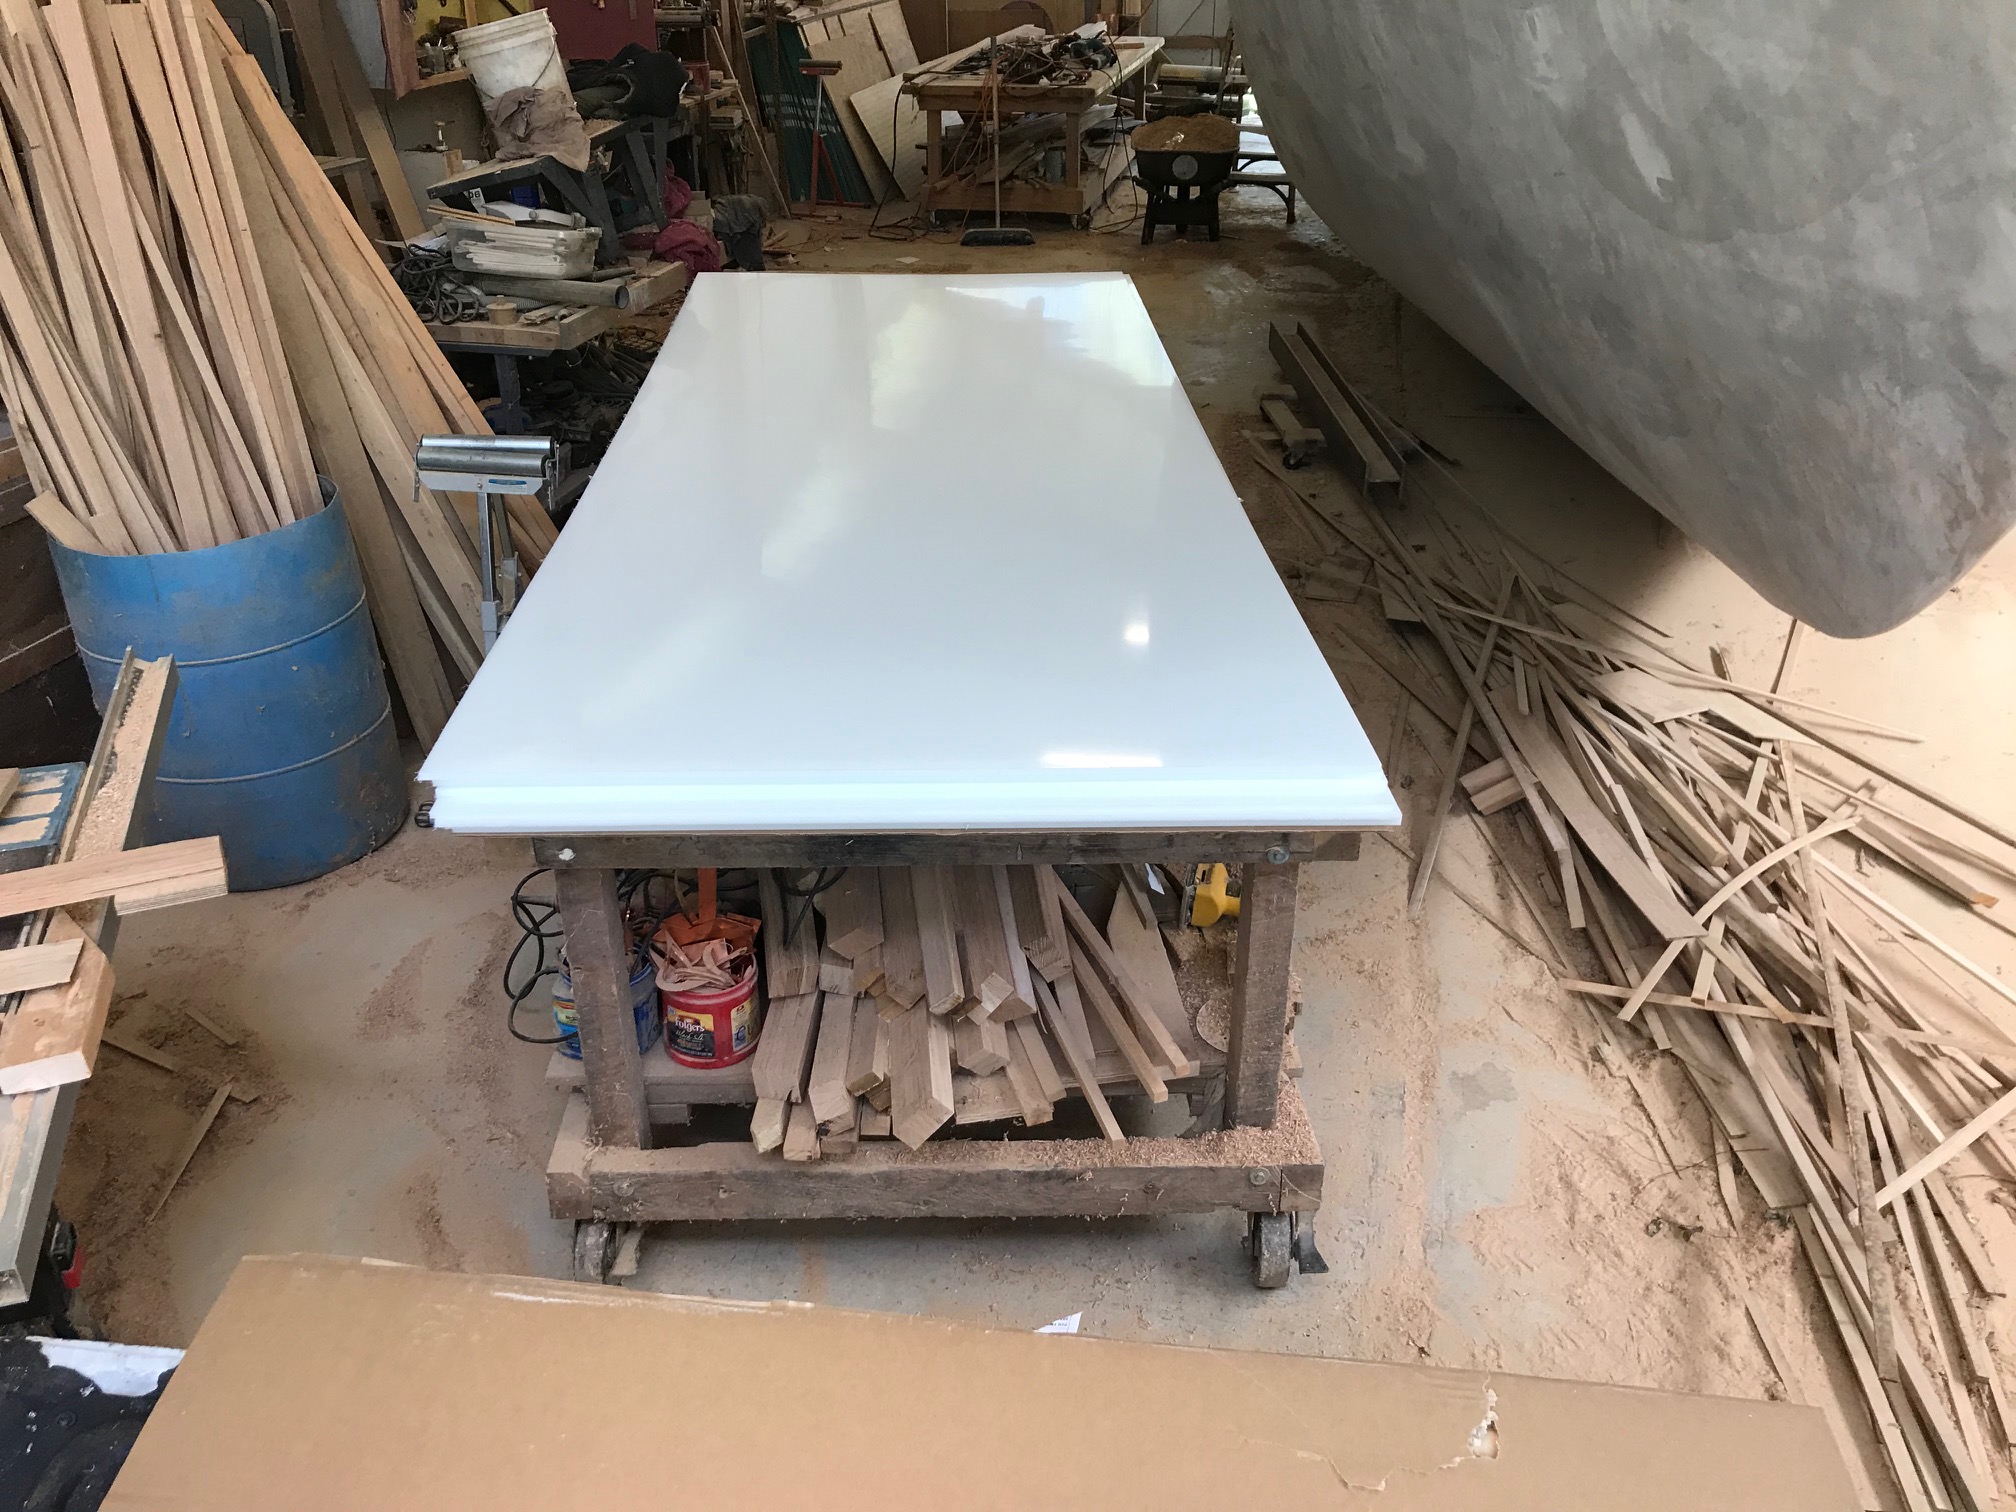
This is the correct form.  You can see that there is a bit more curve to it.

I was still able to get the deckhouse clamp permanently installed and most of the beams.  I also cut down the forward deckhouse beams. 


This is the first of two laminations of the deckhouse clamp holding the deckhouse beams.