| Fitting the port bow deck in two pieces. |
| It is slow going. Measure, cut, fit, remeasure, cut fit... |
This blog details the construction of a 50 foot home built sailboat showing the reader the process, trials and lessons learned along this multi-year journey. It is a repository of knowledge and tricks learned and discovered both through research and trial and error. My desire is to show the reader how they too can build their dream and hopefully avoid a few mistakes along the way.
| Fitting the port bow deck in two pieces. |
| It is slow going. Measure, cut, fit, remeasure, cut fit... |
Oct 3,
I'm starting to prepare the inside framing for the tanks that I have partially made. I need to make one of the floor boards wider because the water tanks will overhang and not be properly supported. I had a few ideas including bolting up some steel angle iron or stainless. Both kind of expensive. I had a big chunk of wood left over from cutting out some of the smaller floor boards and it turned out to be the perfect size and I am not using any of the dimensional lumber I have left.
![]() |
| I already did the port side. "P" on the end is for port. |
![]() |
| Back to the starboard side, I've made a series of cuts to the line. Next, I'll use the chisel and cut these out. |
![]() |
| I'm making sure that my cuts are correct. |
![]() |
| And now the notch is cut, I can fit it. As I said above, it will need a little trimming. |
![]() |
| Again, I make a series of cuts with the hand saw down to the new line. |
![]() |
| Chisel it smooth and it is done. |
![]() |
| Refitting, you can see that it fits very nicely. |
![]() |
| The black water tanks where more complicated but they too fit very nicely. I needed to check both of them. Now I'll work out the plumbing details. I already a general plan. |
September 6,
Well, it is Labor Day here in the U.S. where we celebrate working our ass off. I celebrated by working on the boat and grilling out with my sister and wife.
I decided to get back to work on the tanks after finishing up the main deckhouse framing last month. That means drilling a whole lot of holes for the inspection ports. The backing ring also has to be threaded to retain the 316 SS bolts that hold the port on. There are 16 1.5 inch #20 bolts per port and four ports. The ring has to be threaded, the port cap has to be drilled and the top of the tank also must be drilled and all those holes had better line up. This means making an accurate jig out of some aluminum I have lying around. A circle may be accurately divided into equal parts using a compass. A simple Google search will tell you how; https://www.youtube.com/watch?v=5TXnDbyApAM. My advice is to always mark the lines dividing the circle with three points i.e. double the points in the video above. Two measured points with the compass (each take two sweeps of the compass) and the center mark.
![]() |
| Aluminum pattern in the rear. backing ring on top of port covers are below/ |
![]() |
| Drilling the holes that will be threaded in the backing rings or bolt retaining rings. |
![]() |
| This is how we drill. I'm using a small drill press donated by Mark Finger who is a cherished ex-boss of mine. He has since moved to Colorado to retire. |
![]() |
| One of the tank tops drilled to match the bolt retaining ring. |
Aug 15,
I have not ordered the HDPE pipe for the tanks yet so I can not finish them yet. It was time to do some more word work anyway. I've really missed the carpentry. It is time to finish up the deckhouse now that I'm sure the tanks will fit in the boat with that structure in place. I wasn't absolutely sure before.
![]() |
| I took all this apart and cleaned everything up and glued it all back together. |
![]() |
| I've left off the trim pieces on the entrance. I'm still debating the best approach here. |
![]() |
| A close up of the half lap joints. This is actually a couple of hours worth of work just for this one piece of wood. |
![]() |
| This piece fit so well I decided to call it a day after knocking it together. No screws or glue yet. |
I had similar luck with the starboard side. Now, all the framing is complete with the exception of deadwood where necessary. It's now time to finish up the tanks and get them installed.
July 12
I've been extremely busy at work and home lately and I have not been able to spend a lot of time on the boat. But progress must continue.
![]() |
| And with the top fitted. |
![]() |
| Both freshwater tanks with tops fitted. |
June 7,
It looks like these tanks are just going to take awhile to make. I might as well settle into the task and let it take how long it will take.
![]() |
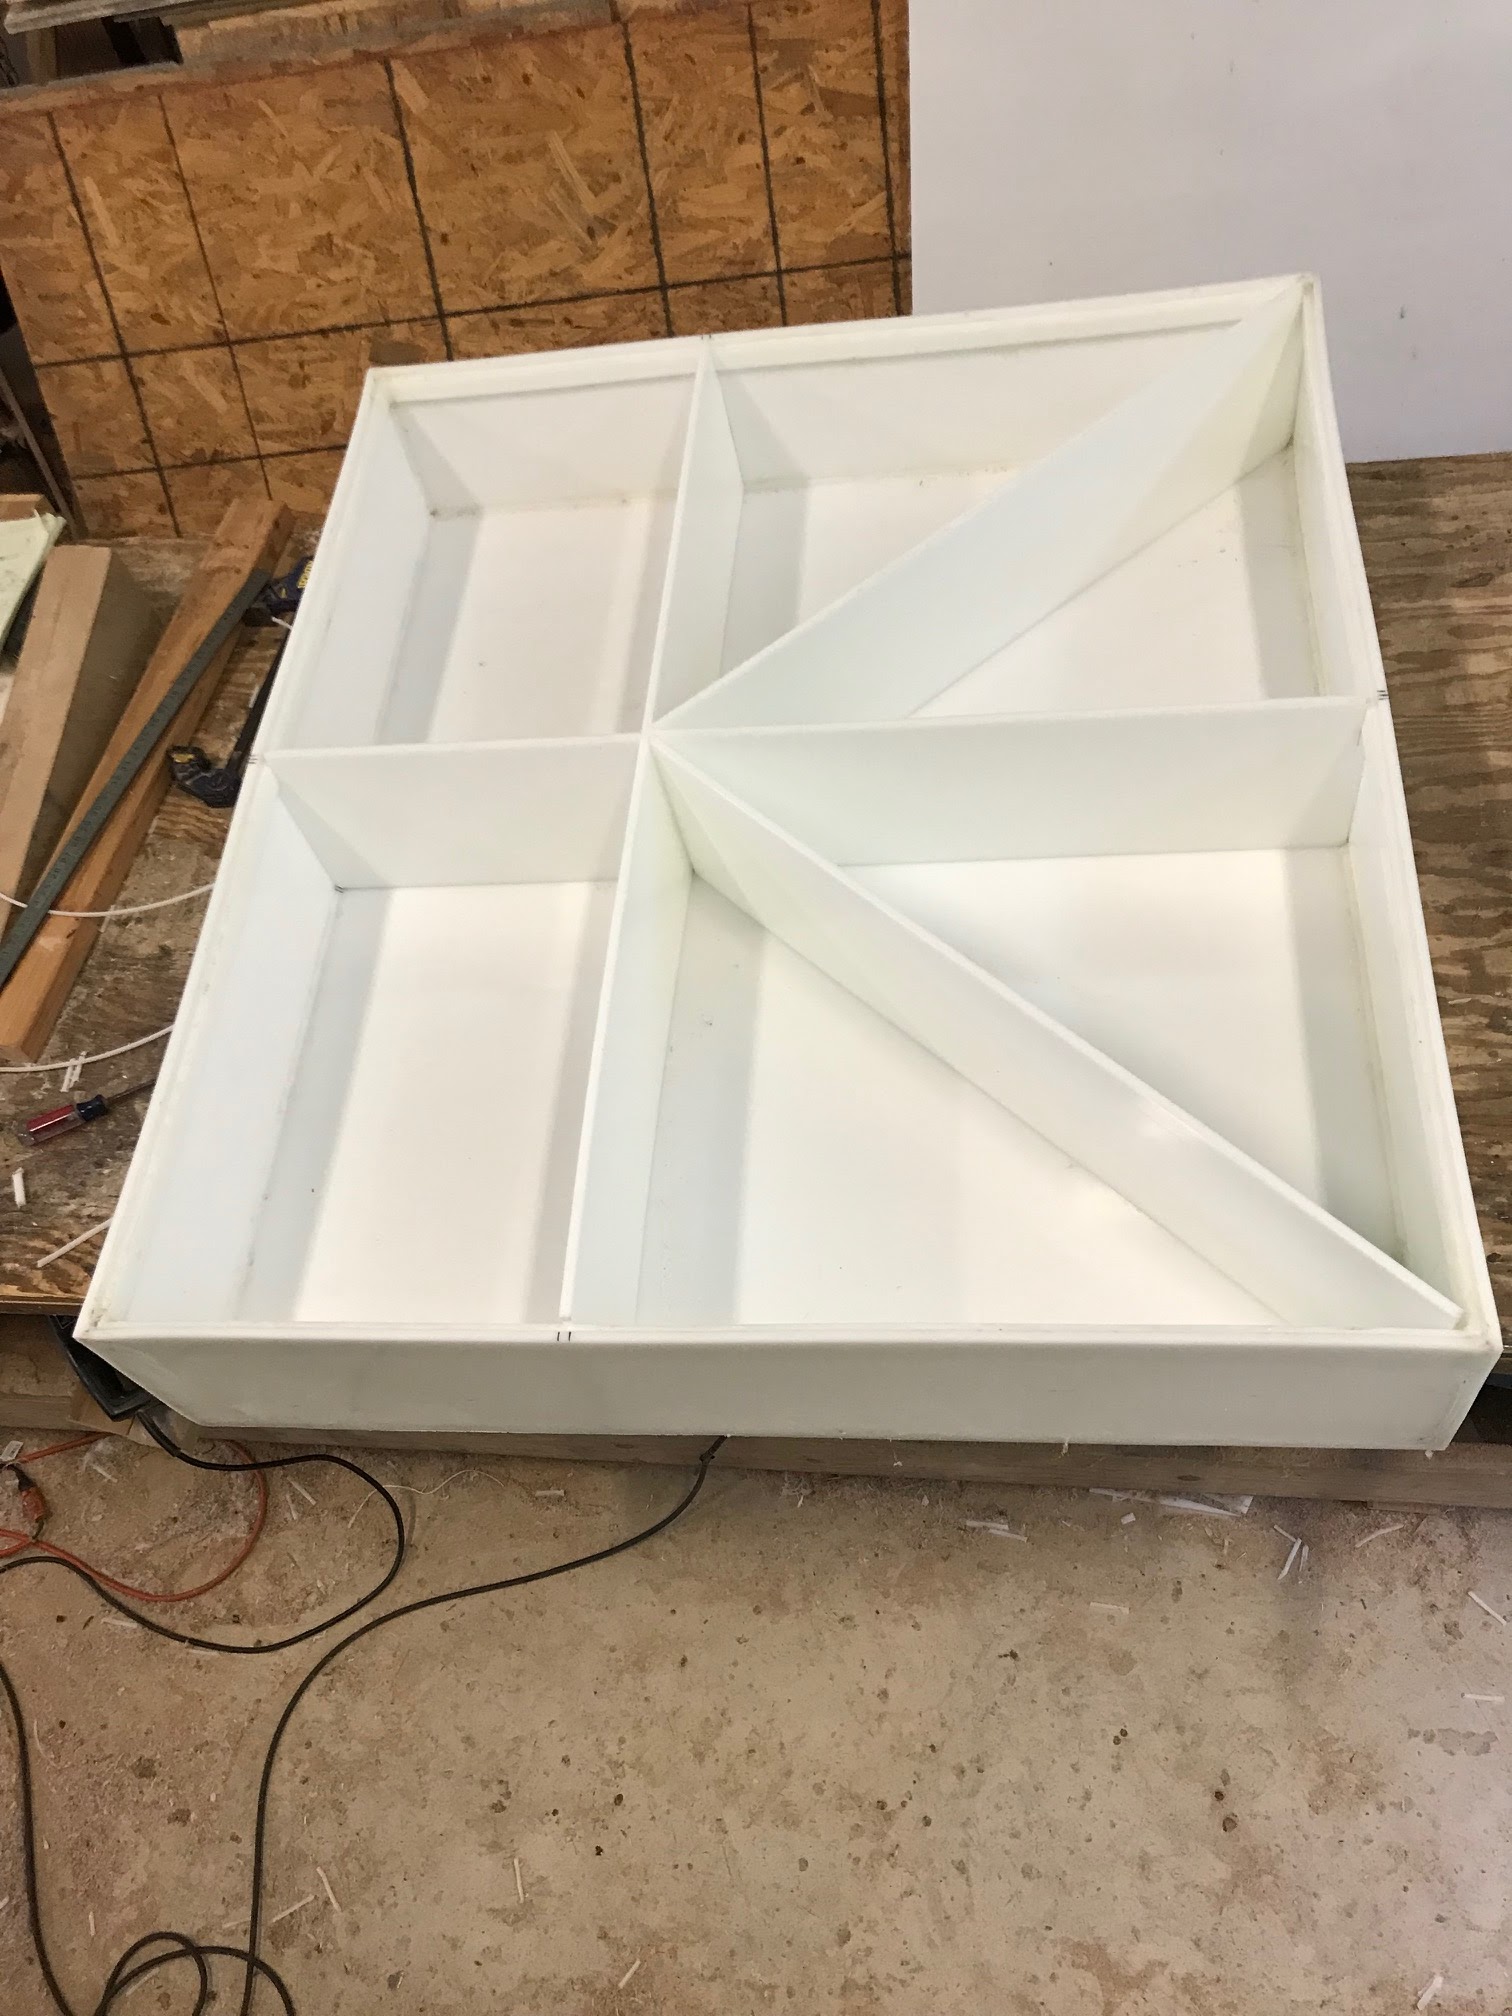
| This blackwater tank is getting complicated. All of the interior baffles and inspection port reinforcement are in place. |
![]() |
| Just another view showing how the internal flow will occur. The baffles are placed to support the sides and inspection port. |
For the hose attachments, I plan on using short pieces HDPE pipe that I can weld on. I'll make the barbs with the lathe. The 1 1/2" pump-out will be an internal pipe that siphons from the deepest part of the tank.
June 12,
![]() |
| The second black water tank being built. |
![]() |
| Remember this step from above. This is the port tank and the inspection port will be centered (more or less) on the tank and accessible from under the galley sink. |
May 4,
Worked on the tanks again this weekend.
May 7,
I took a lunch break and worked out how to make the inspection ports for the tanks. Basically I've cut out a 14.5 inch circular disk from the HDPE for a port cover and made a doughnut of the same outside diameter for a backing plate. I'm going to thread the backing plate and tank skin to accept a bolt. This is just to keep the bolts in place during installation. I will use nuts on the bolts to actually hold the port in place.
![]() |
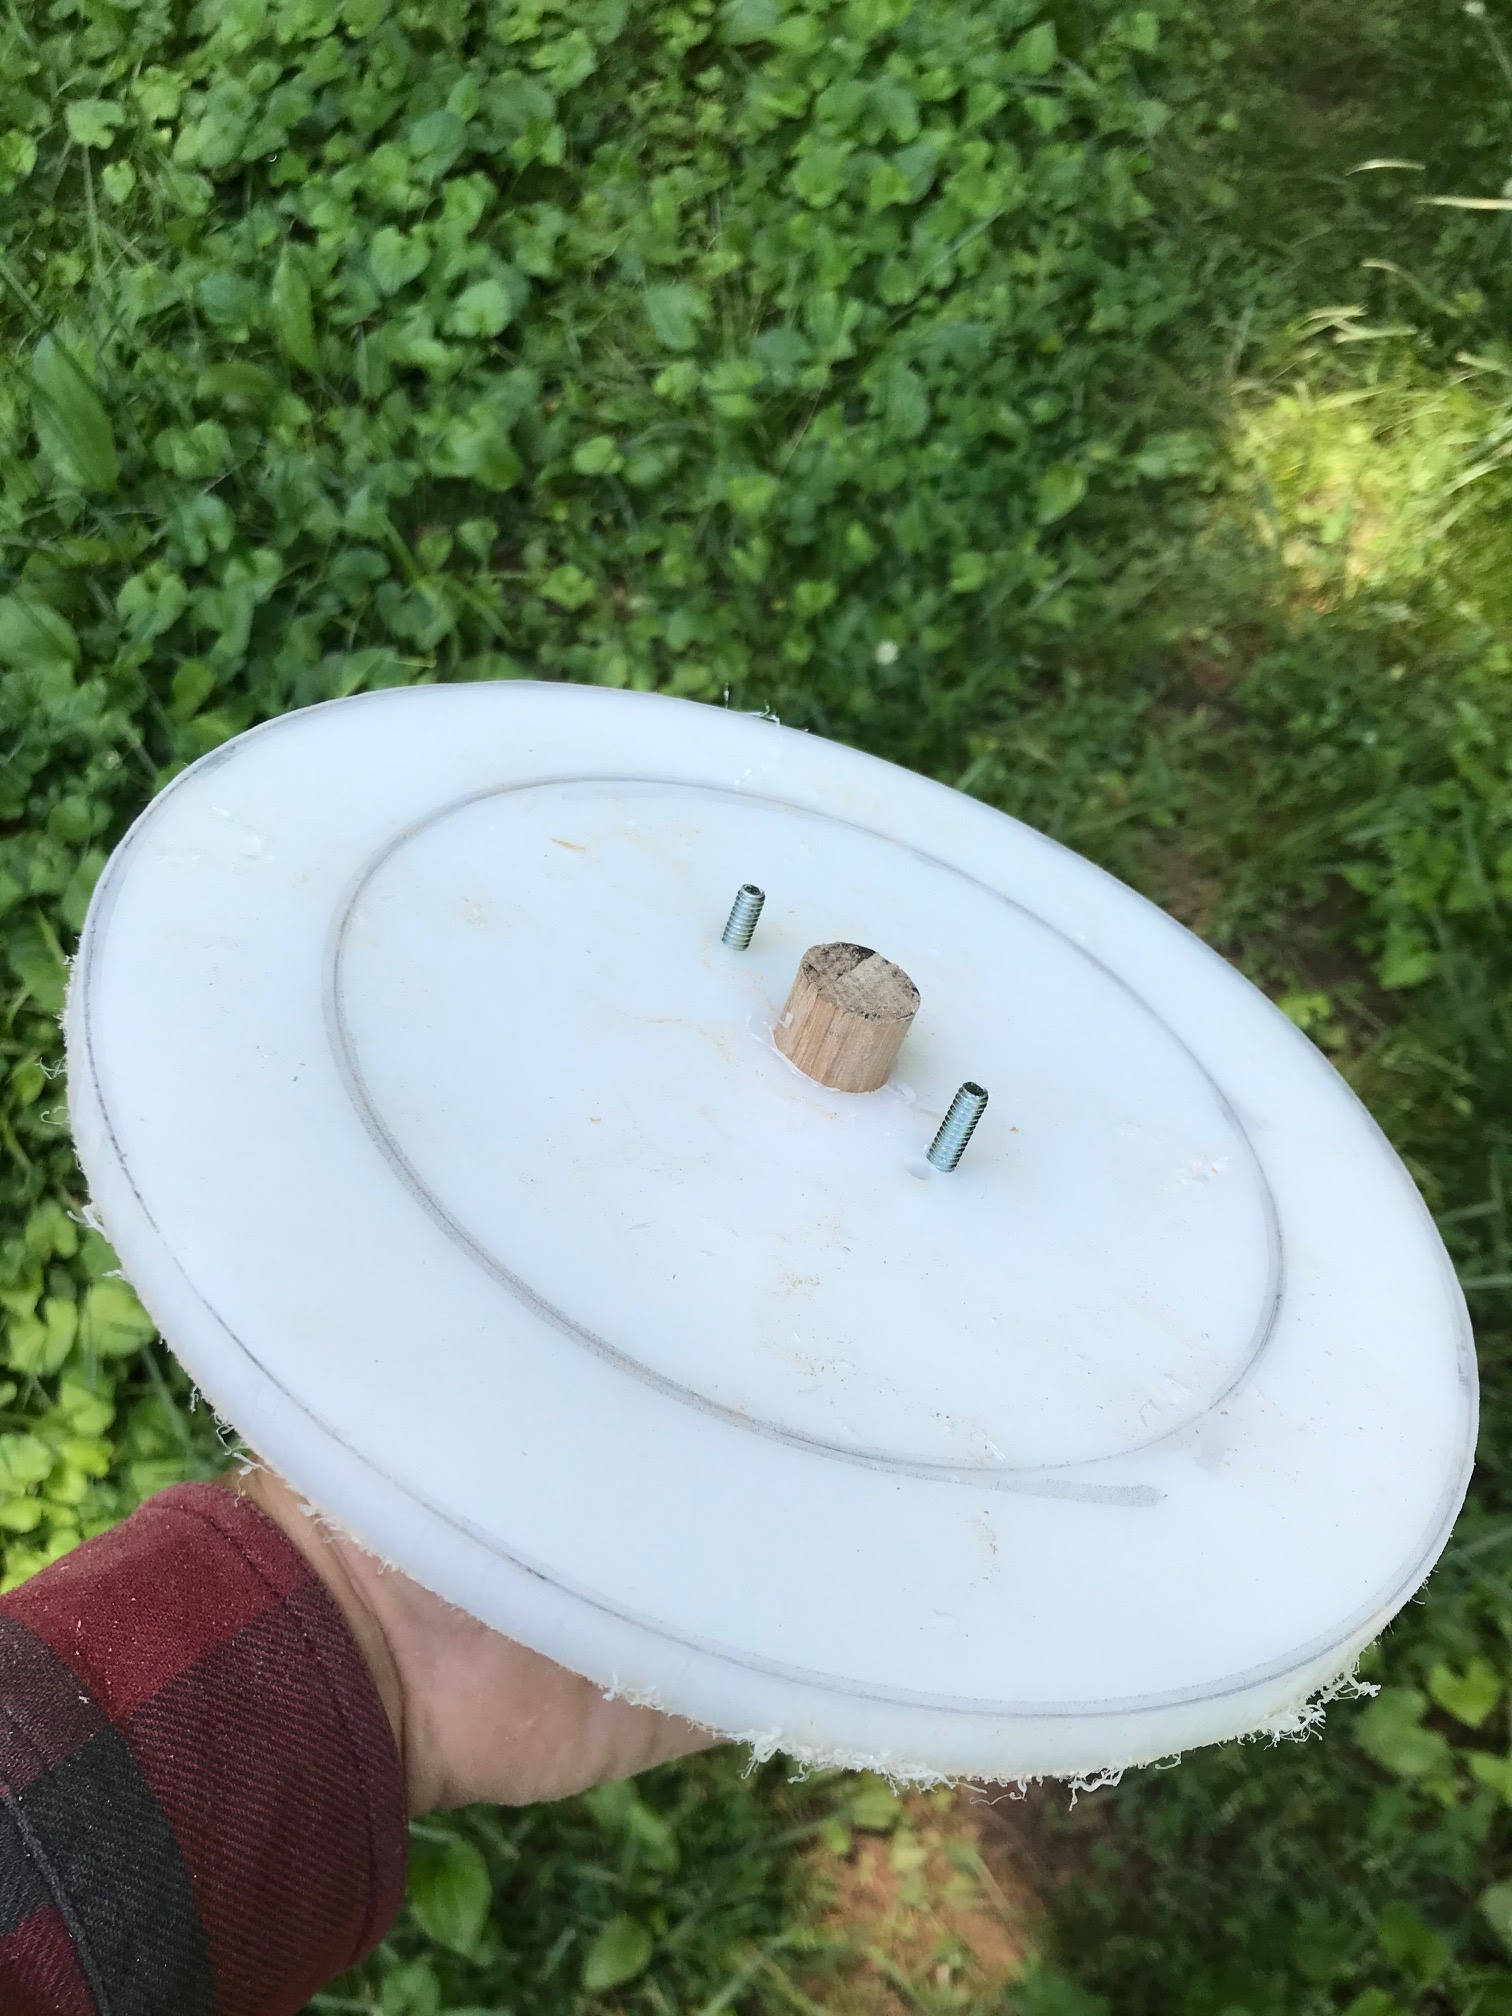
| This will be the ring for my backing plate. I've mounted it on a jig to put in a wood lathe were I will cut out the center to leave a ring. |
![]() |
| Just the back side of that backing plate jig. |
![]() |
| Attached to a lathe and cut with a nice finish. |
![]() |
| inspection port cover in the top of the figure with the backing ring at the bottom. |
![]() |
| Fitting the tanks. I placed the tanks in the bilge so I'd get the curvature to the sides correct. |
May 15,
![]() |
| Clamped up and ready to weld |
![]() |
| All four sides are in. |
![]() |
| Measuring to build the first internal baffle. |
![]() |
| Fitting the baffle. It needed a minor adjustment. Also note that there is now a lip around the edge that will eventually receive the top. |